

How to modify SSO settings
Users with the On-prem Administrator role can modify the single sign-on (SSO) settings. By enabling an SSO provider, users will be able to login via their preferred identity provider.- Go to On-prem settings page
- Click on On-prem from the navigation menu, then Settings
- The SSO settings for Google, GitHub and Entra ID will be part of the settings page
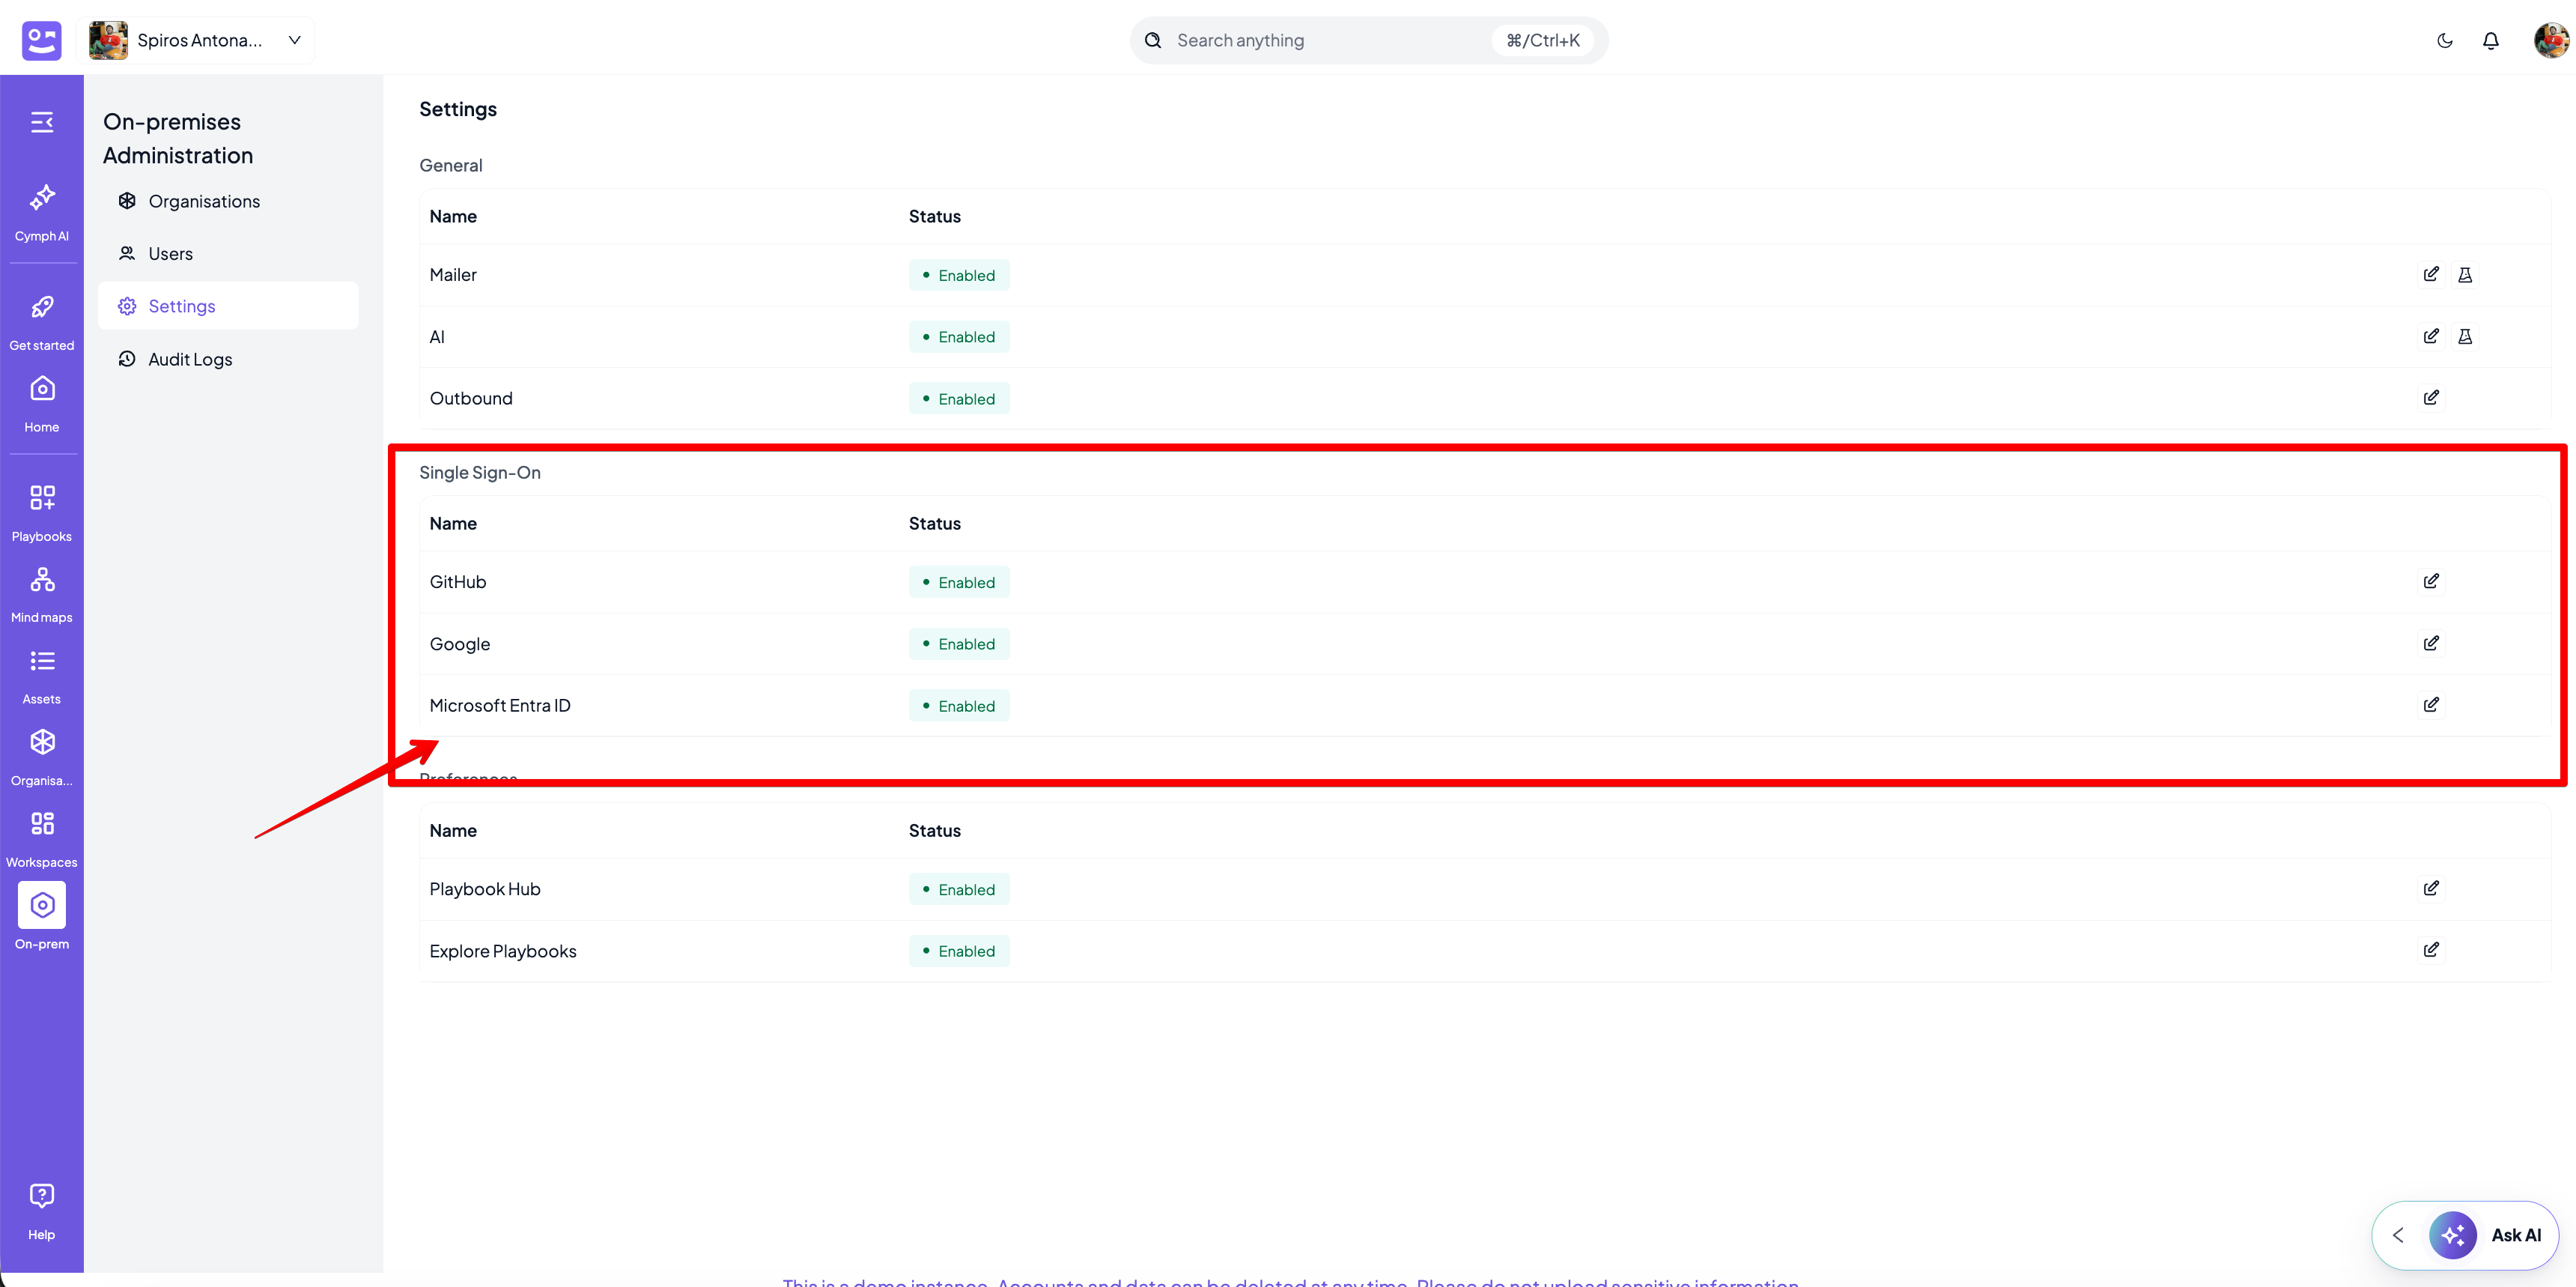
- You can click the Edit button next to the desired provider and change its settings
Google SSO setup
Google SSO setup requires a client ID and a client secret from the registered OAuth application. You can see the detailed documentation here. During OAuth app registration, make sure that homepage is set tohttps://demo-instance.cymph.io/ and auth callback to https://demo-instance.cymph.io/api/auth/callback/google
Replace demo-instance.cymph.io with the FQDN of your installation.
GitHub SSO setup
GitHub SSO setup requires a client ID and a client secret from the registered OAuth application. Go to github.com and switch context to the desired organisation. Go to Developer Settings and then to OAuth apps to register a new OAuth application. During OAuth app registration, make sure that homepage is set tohttps://demo-instance.cymph.io/ and auth callback to https://demo-instance.cymph.io/api/auth/callback/github
Replace demo-instance.cymph.io with the FQDN of your installation.
Entra ID SSO setup
The Entra ID SSO setup requires a Client ID, Tenant ID and a Client Secret from a registered application. 1. Create an App Registration- Go to portal.azure.com → Microsoft Entra ID → App registrations → New registration
- Name it (e.g. “Cymph”)
- Supported account types: Accounts in any organizational directory and personal Microsoft accounts (this matches
tenantId: "common") - Redirect URI:
Web→https://demo-instance.cymph.io/api/auth/callback/azure-ad- Replace
demo-instance.cymph.iowith the FQDN of your installation.
- Replace
- After registration, on the Overview page copy:
- Application (client) ID
- Directory (tenant) ID → not needed since you’re using
"common", but good to note
- Go to Certificates & secrets → New client secret
- Set an expiry, click Add
- Copy the Value immediately (it’s only shown once)
- API permissions → ensure
Microsoft Graph→User.Readis present (it is by default)
User.Read on a public app.