Eligible playbooks
Playbooks that meet the following criteria can be submitted for execution:- They contain only action steps that have manual commands or parallel steps
- They do not have an validation errors
- They are not revoked
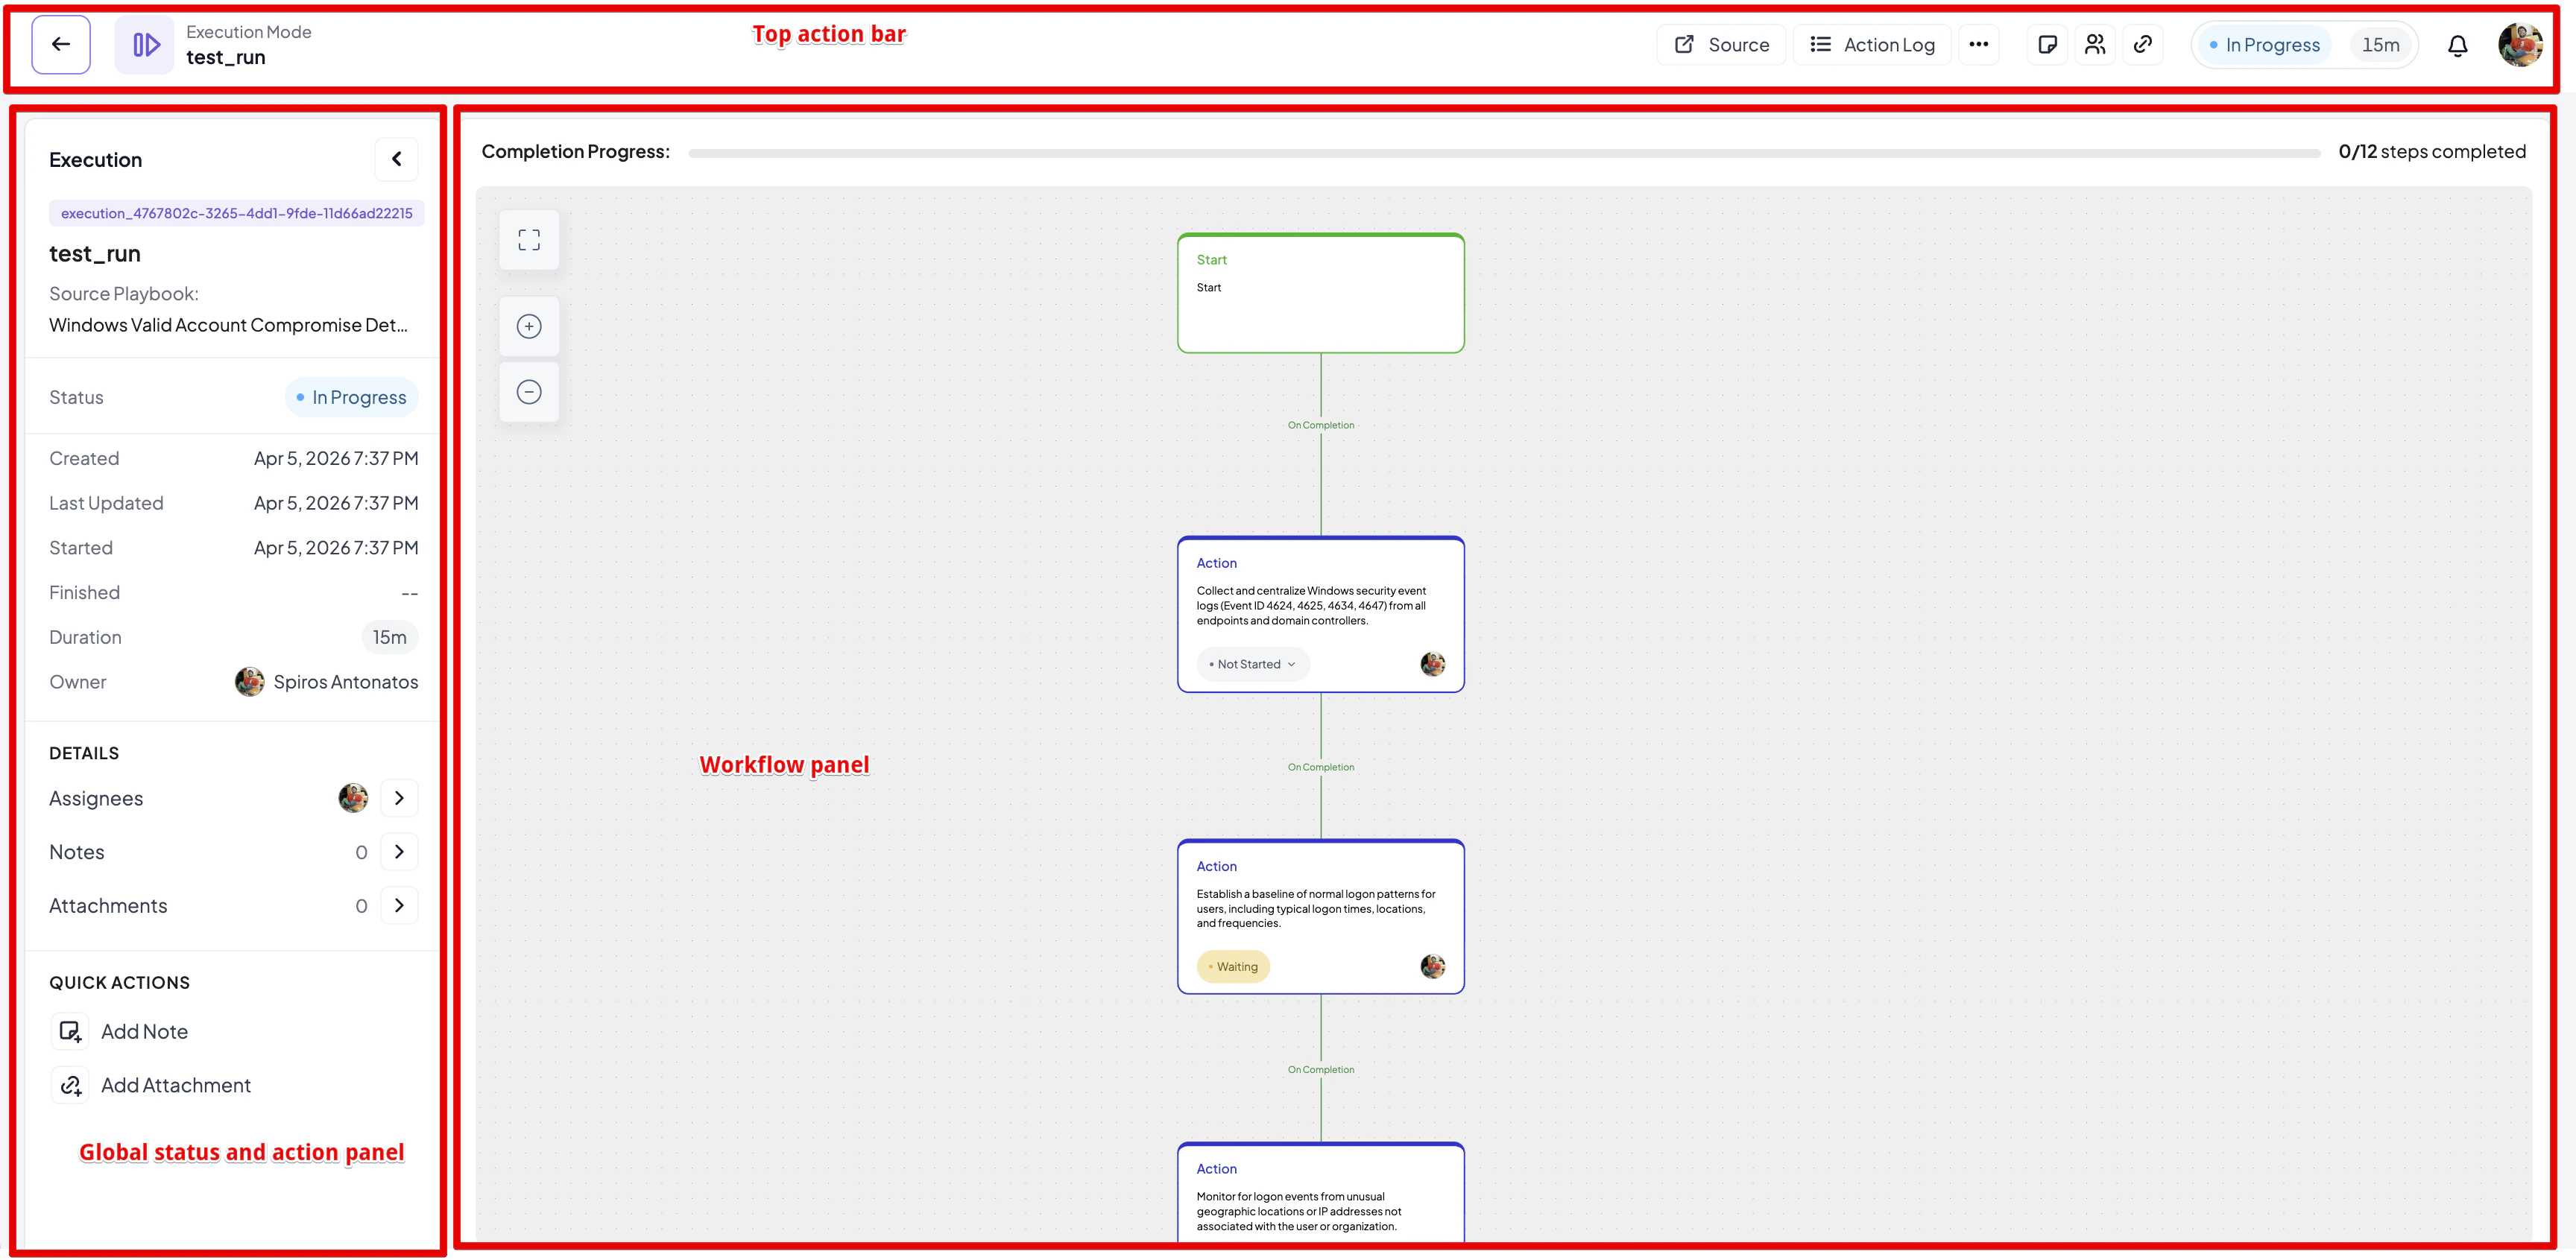
Execution editor
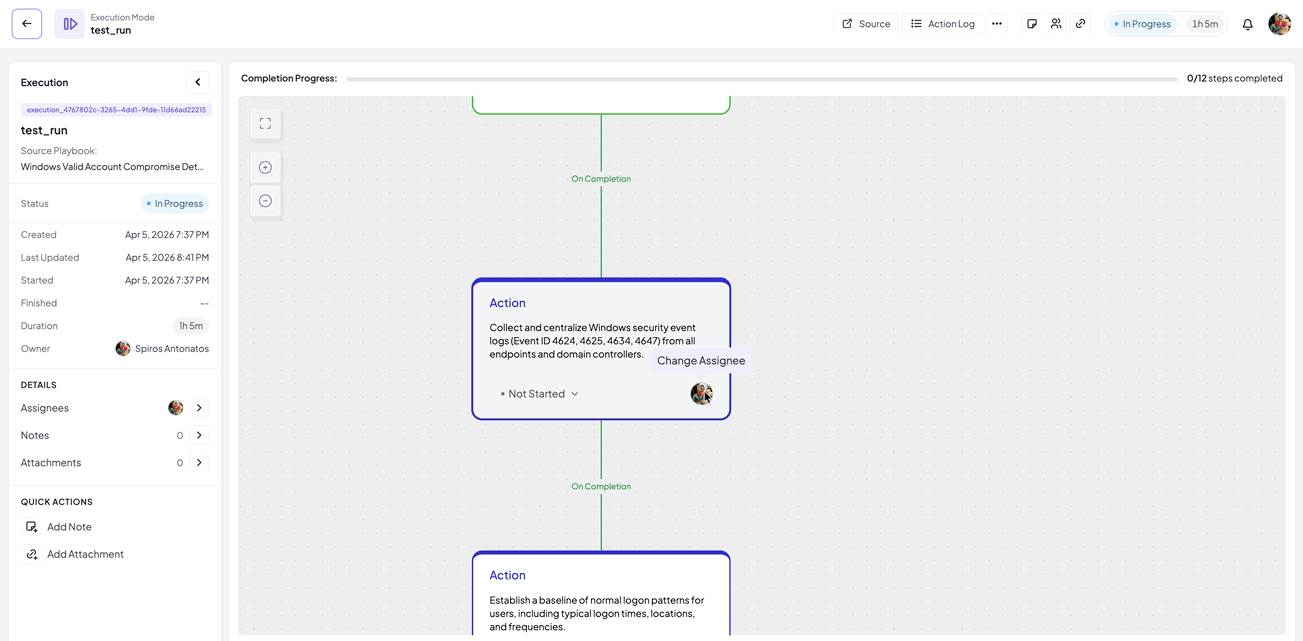
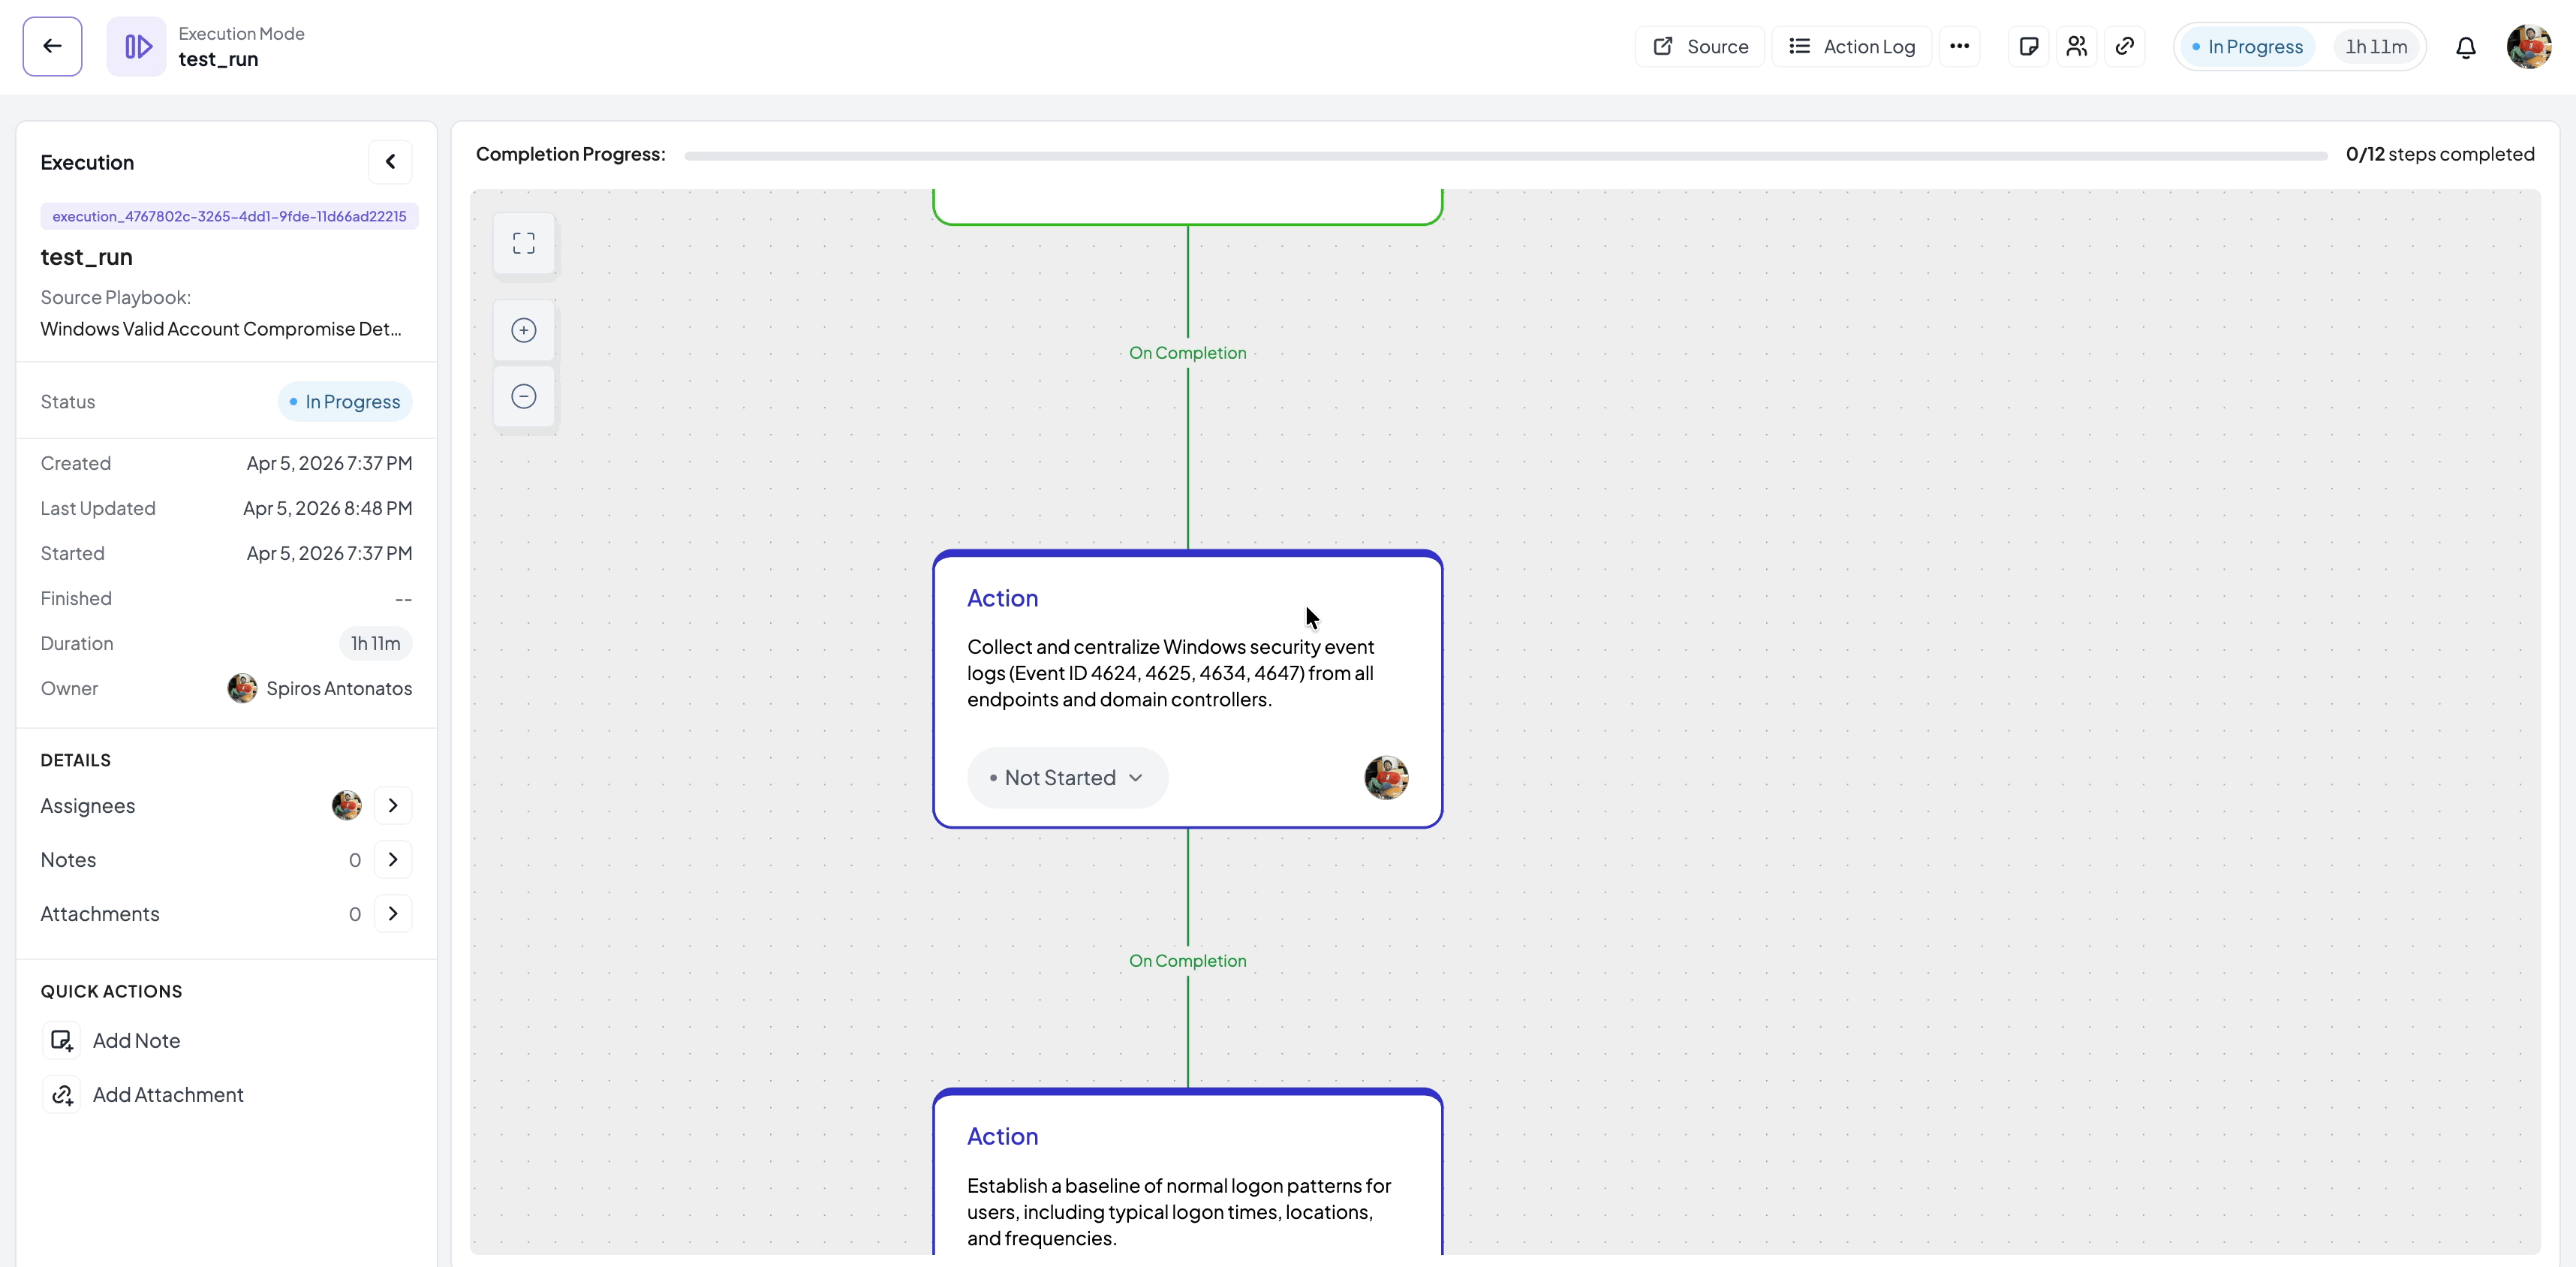
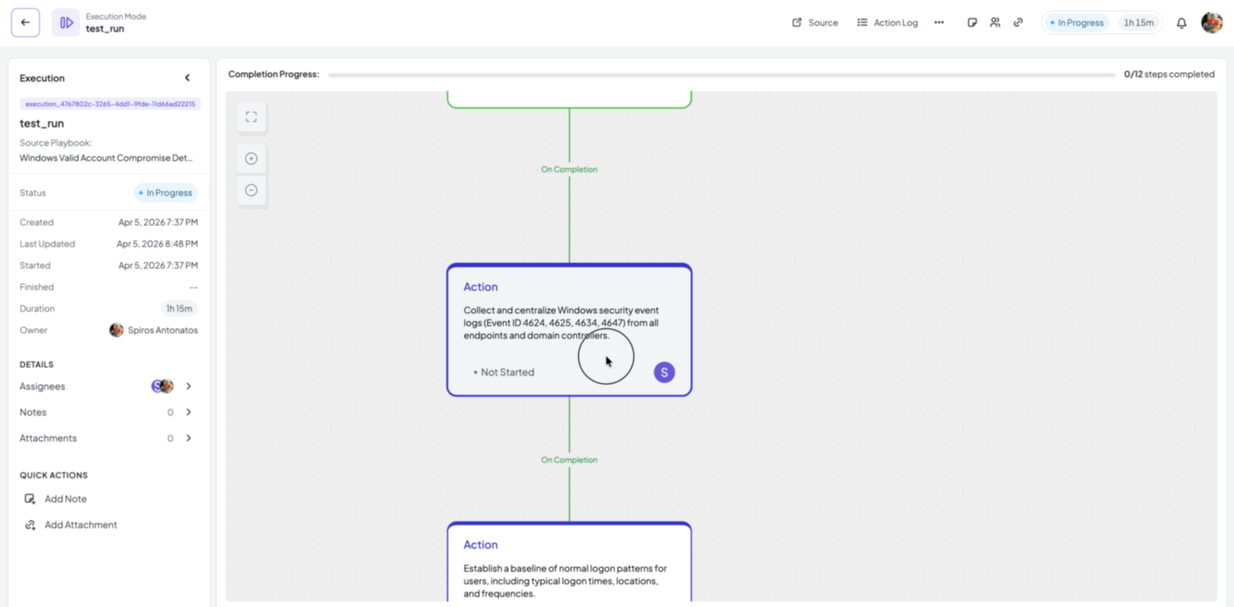
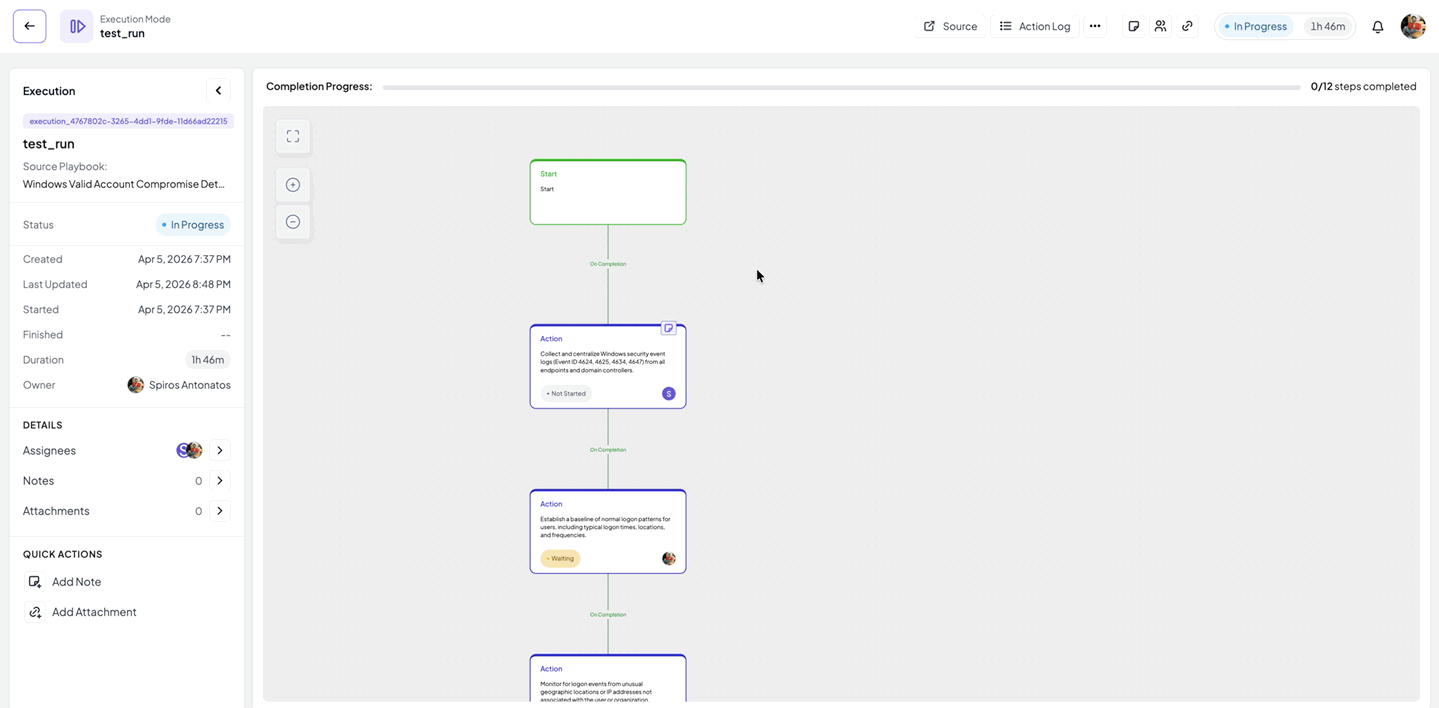
Execution editor is the central place where all major actions for an execution happen. It is split into three major areas:- Global status and actions panel: this panel resides on the left side and contains information about the execution, allows you to view and add global notes and attachments and see an overview of the assignees
- The top action bar which contains options to view and ad global notes, view and add global attachments, see an overview of the assignees, the status and duration of the execution, see the source playbook and finally see the action log.
- The workflow panel. This is the panel where the steps of the execution are visualised. From here, you can change the status of each step as long as it is assigned to you or change the assignee for a non-completed step as long as you are the execution owner
Initial assignees
When submitting a playbook for execution, the assignees of each step in the source playbook will be respected. If no user is assigned in the source playbook or the assigned user is not found, the execution owner will be assigned to that step.Changing step status
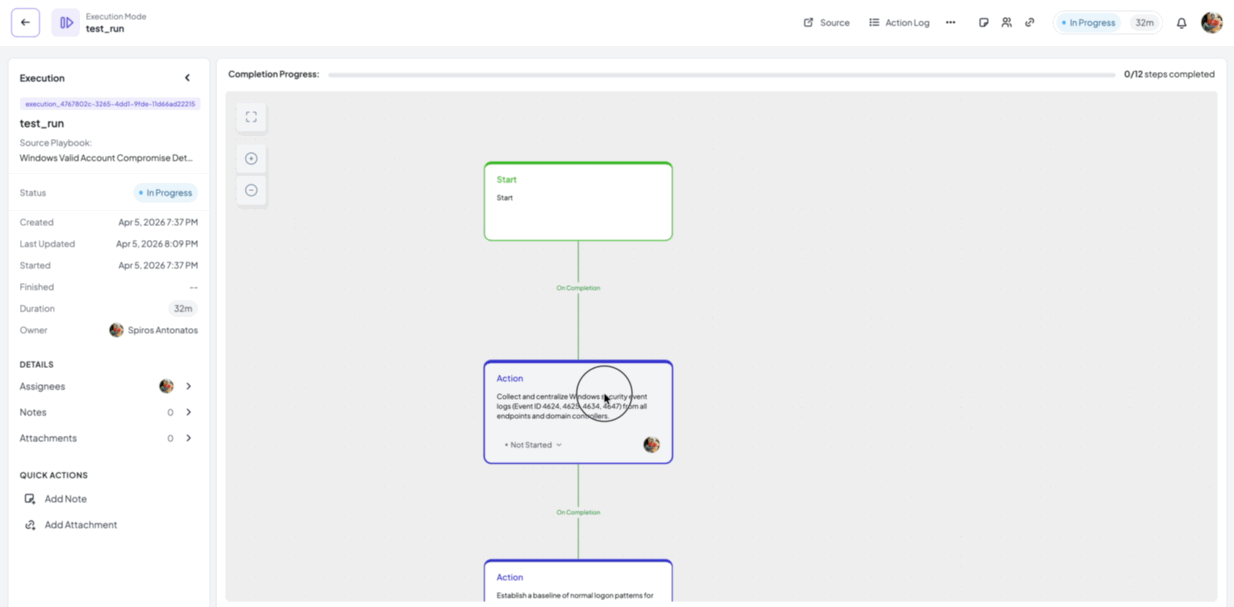
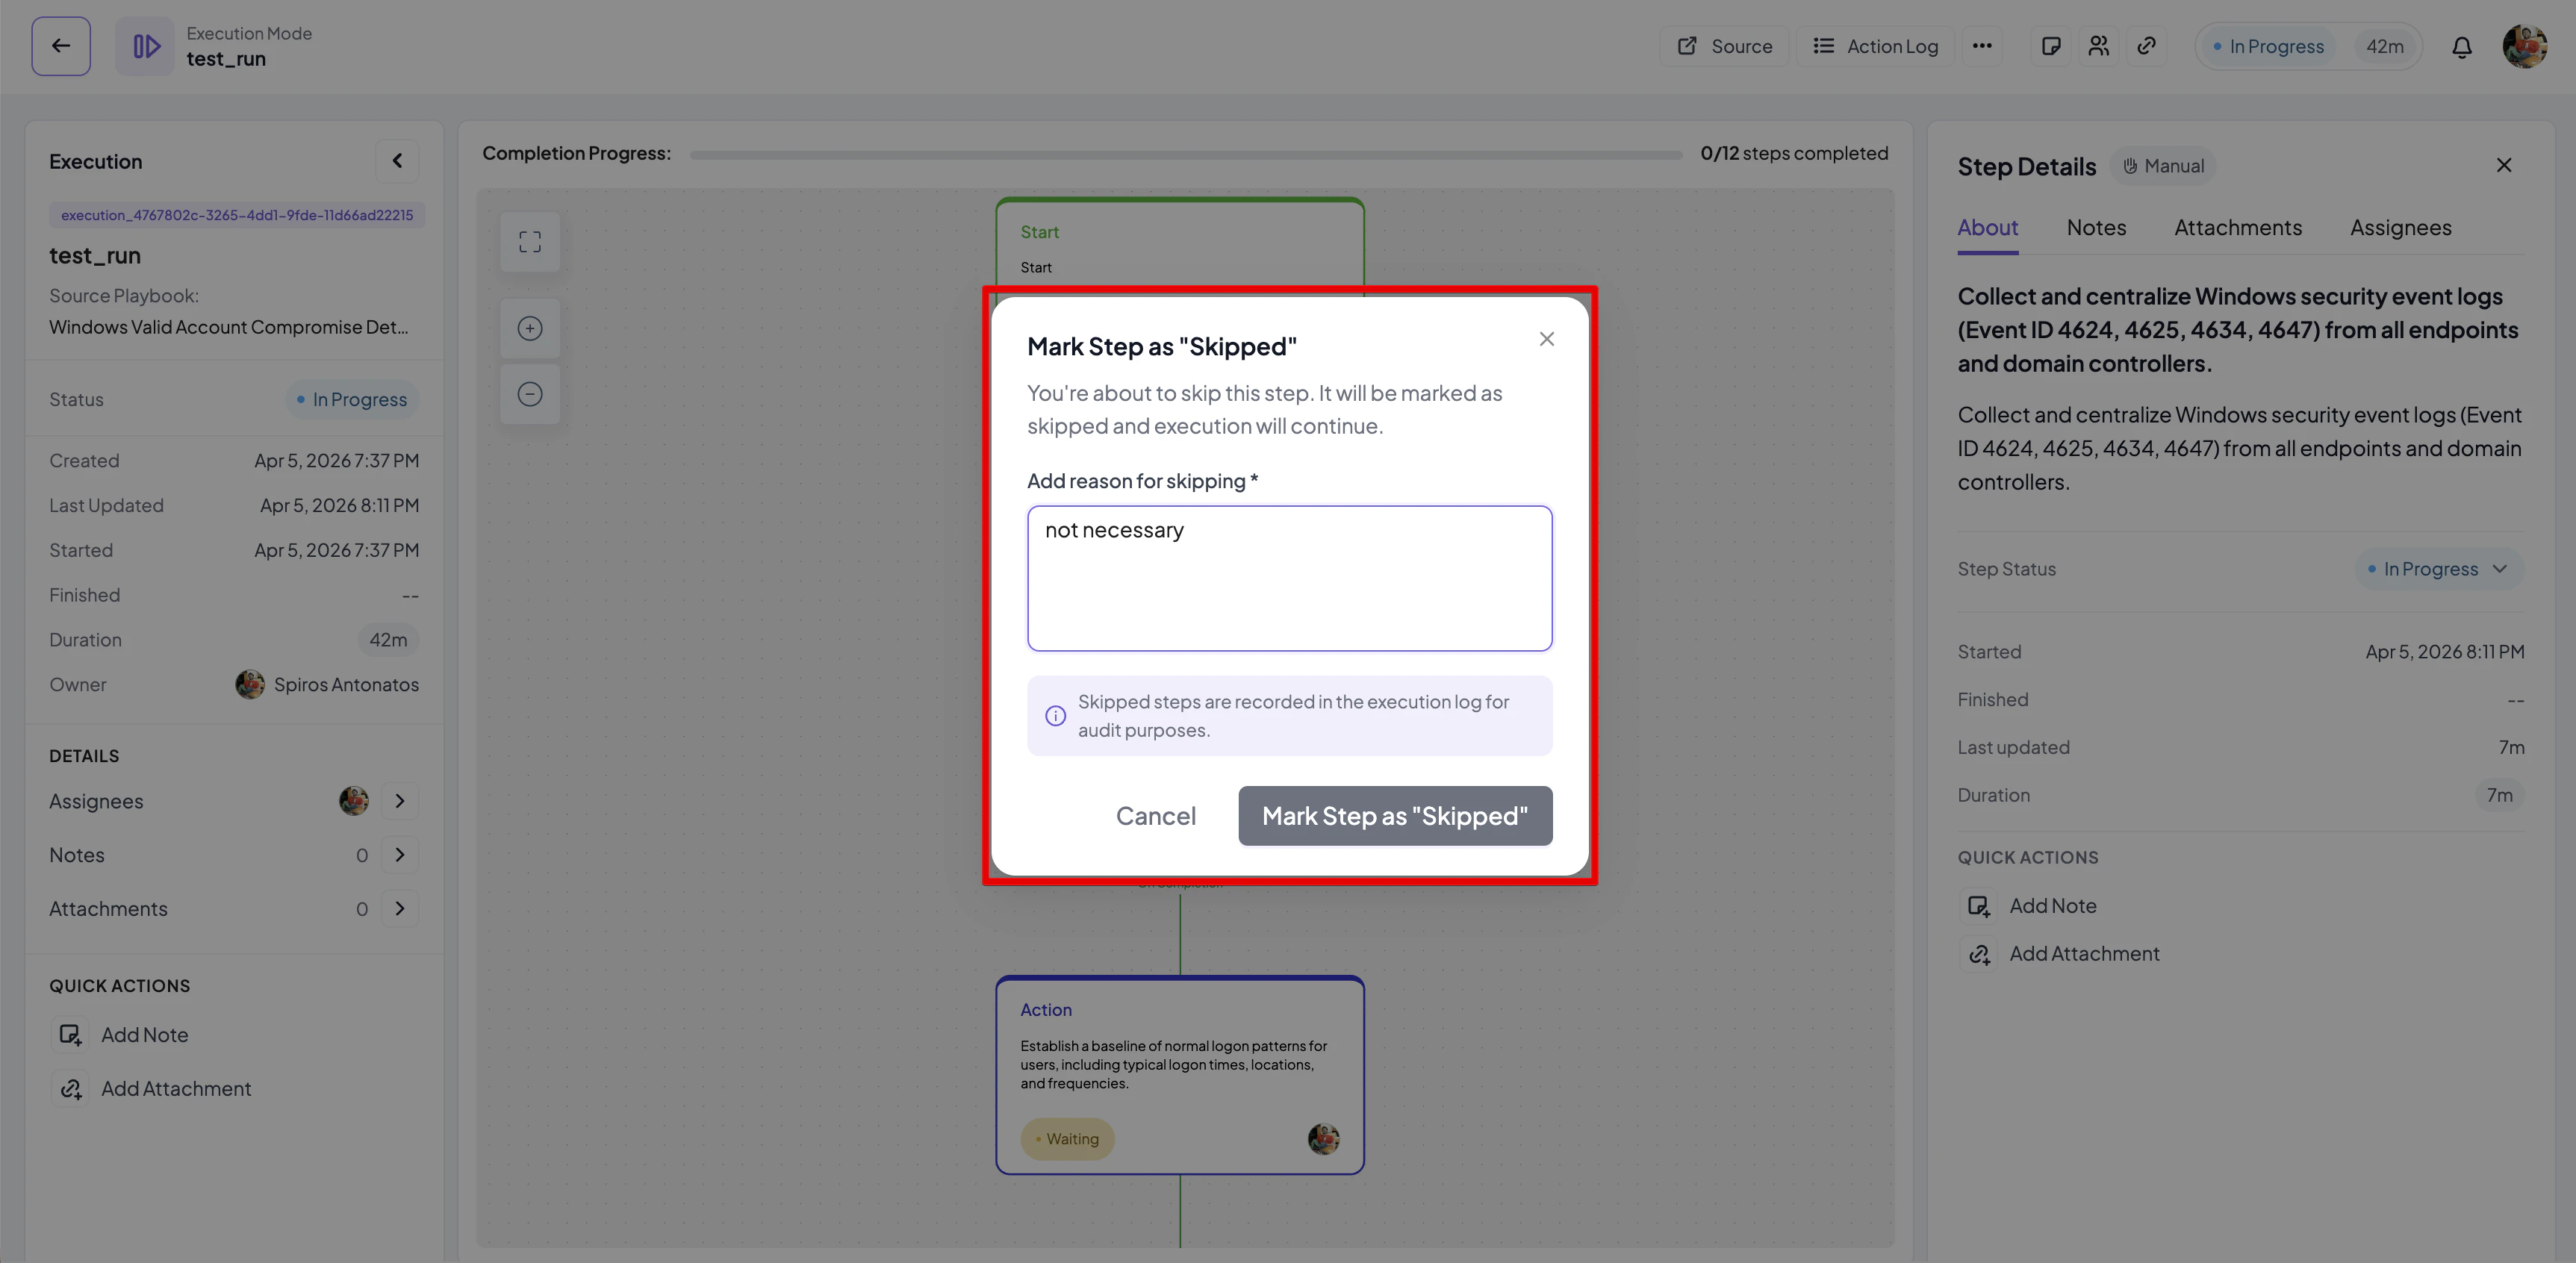
In order to change status of a step you must be assigned to it. Changing status can be done in two ways:- Via the status dropdown menu of the status node
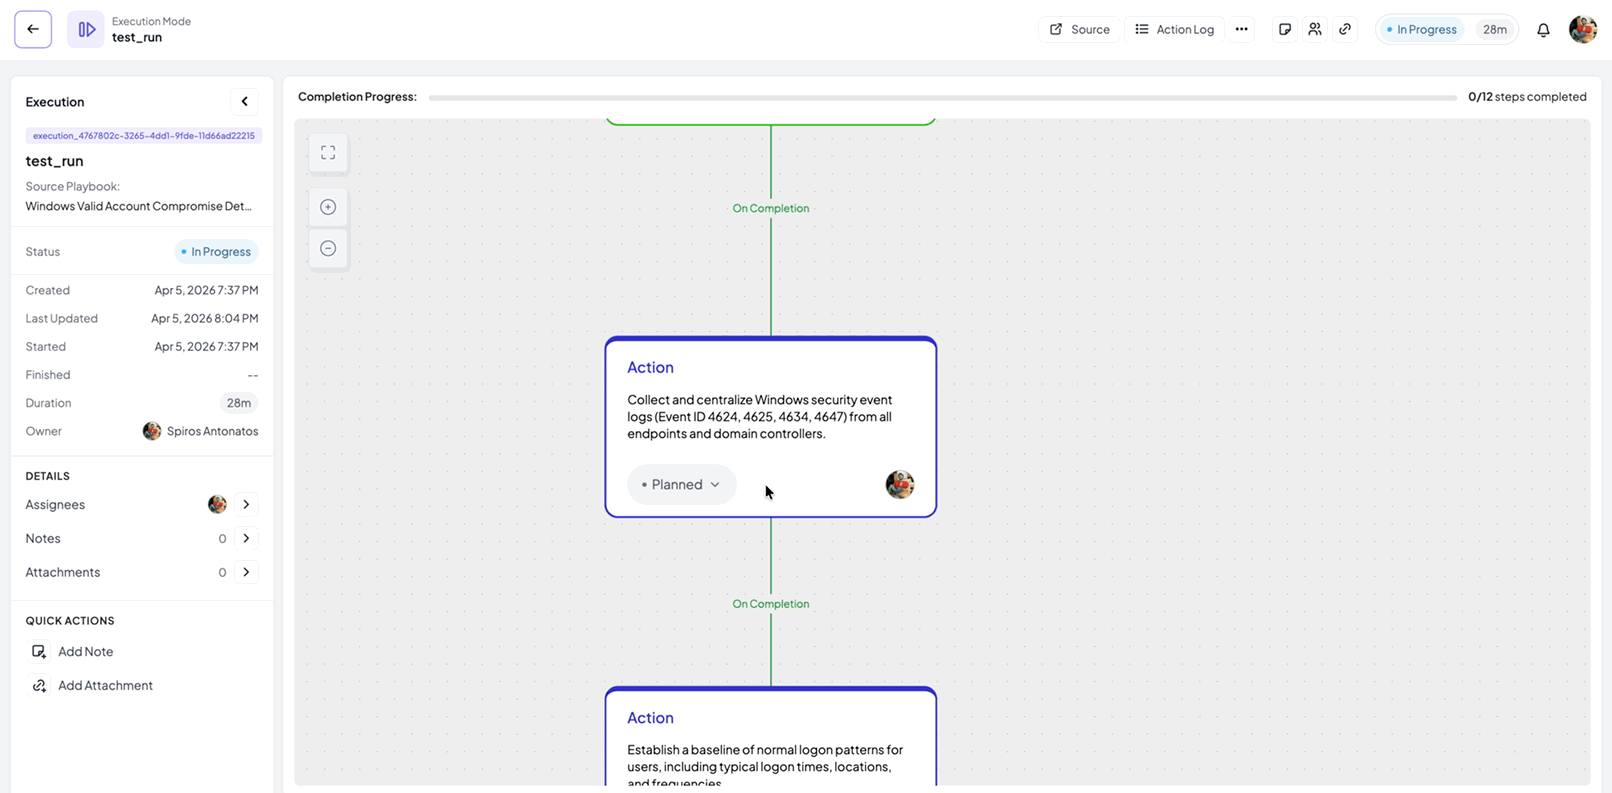
- Click on a node to show the details panel and change the status from the dropdown menu there
- Not Started
- Planned
- In Progress
- In Review
- Skipped
- Failed
- Completed
Allowed status transitions
The table below summarised the allowed transitions among statuses.Changing step assignee
If you are the execution owner, you can change assignees of a step as long the step has not finished (skipped, completed, failed, canceled) You can change a step assignee in two ways:- By clicking on the avatar icon of the current assignee in the step node and selecting a new one
- By clicking on a node and change the assignees from the Assignees tab of the step details panel
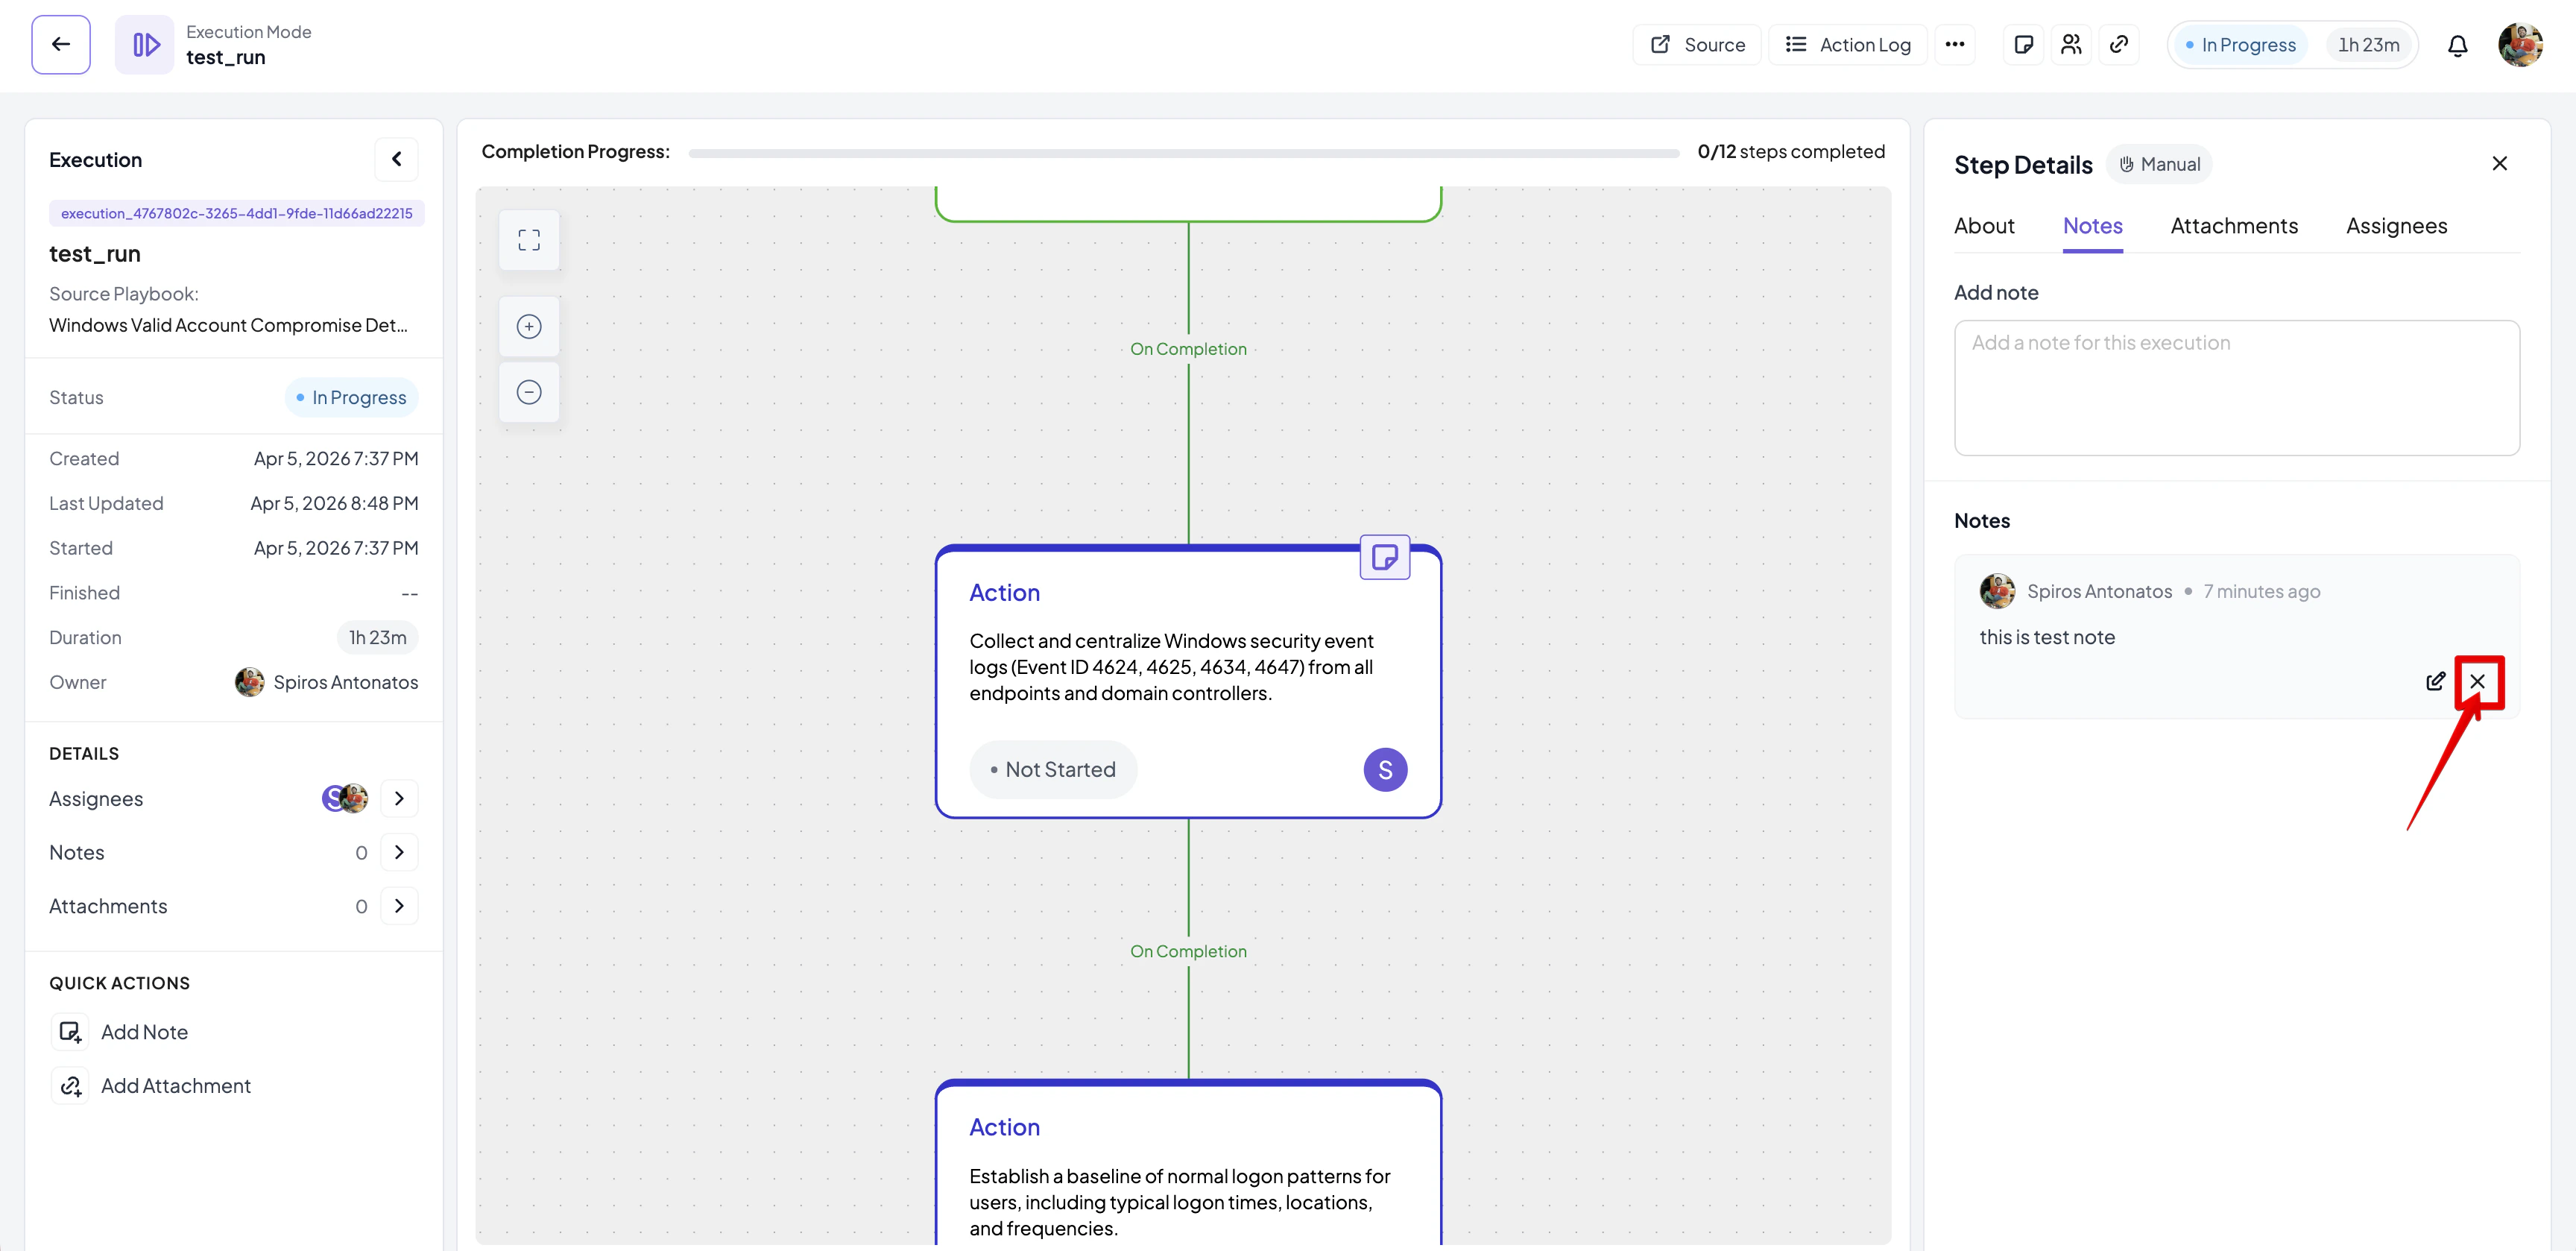
Adding notes to a step
- Click on a step and its details panel will appear
- Navigate to the Notes tab
- Enter your note text and click on Add Note to add it
You can add notes at any time, independent of the step and the entire execution status
Deleting a step note
If you are the author of a note, you will be able to delete it.- Click on the step in order for its details panel to appear
- Navigate to the Notes tab
- Click on the delete icon of the note you want to delete
- Select Remove on the confirmation dialog that appears
Editing a step note
- Click on the step in order for its details panel to appear
- Navigate to the Notes tab
- Click on the edit icon of the note you want to edit
- Edit the note contents and click on Save to save your changes

Managing step attachments
If you want to add an attachment:- Click on the step in order for its details panel to appear
- Navigate to the Attachments tab
- Click on Add Attachment and select a file to add
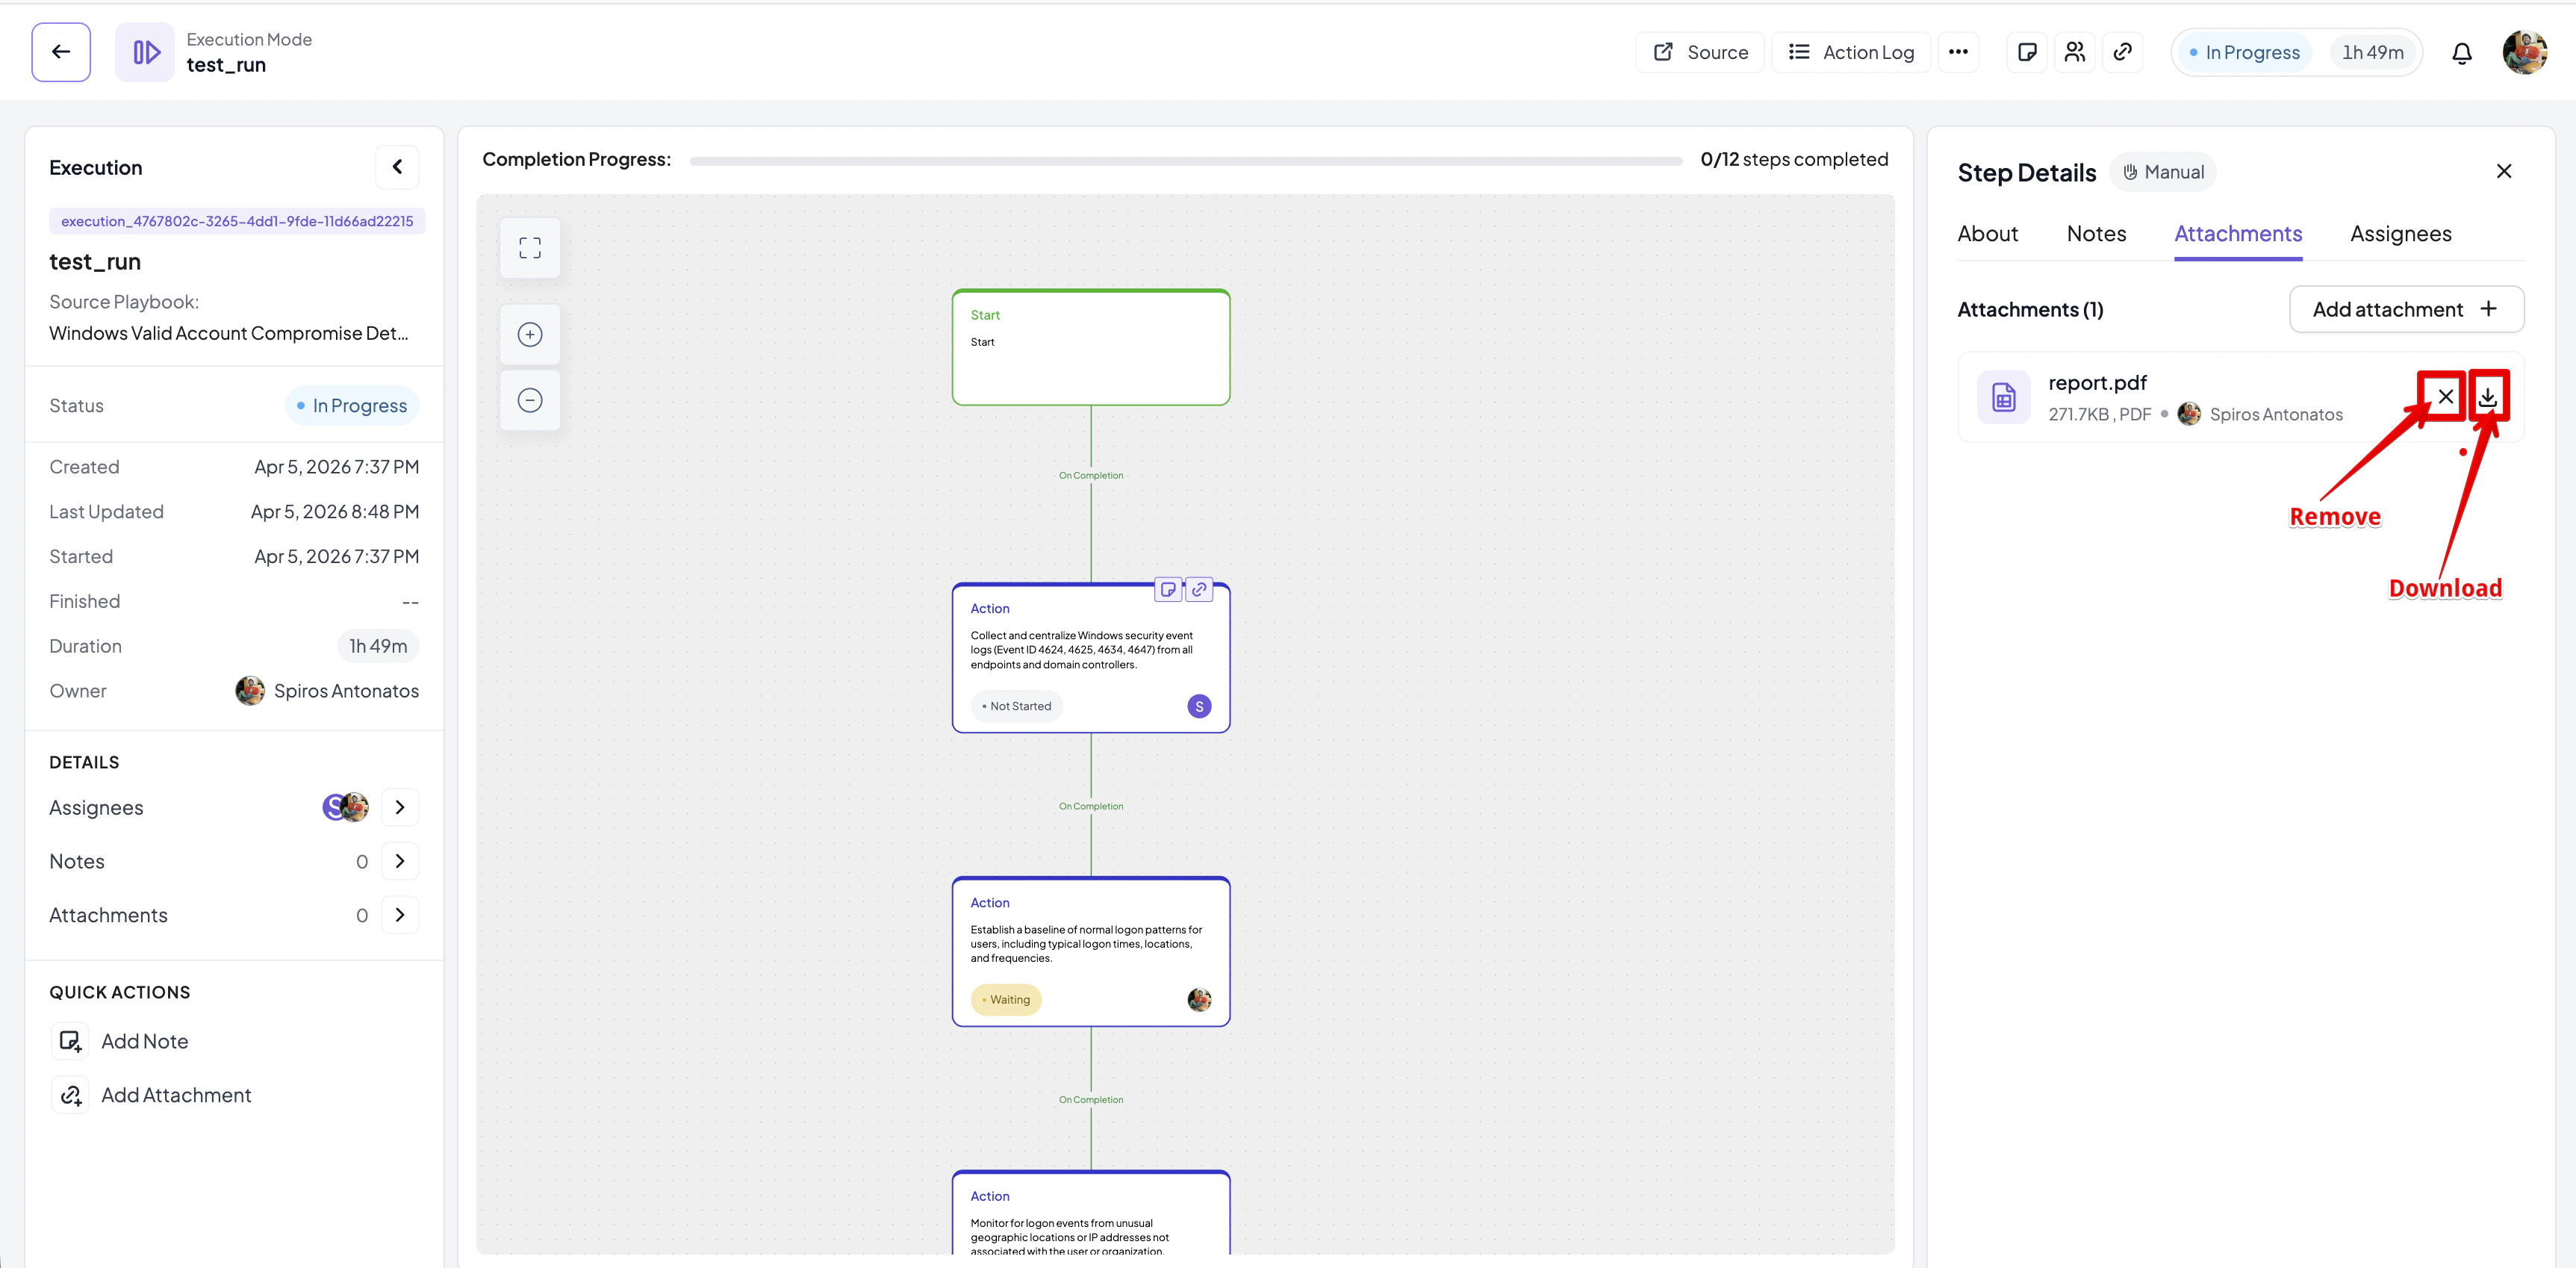
You can add attachments to a step at any time, even if the execution is complete.
Managing global notes
Adding, editing and deleting global notes (notes for the entire execution) is similar to managing step notes. By clicking on the Notes button either from the global action panel on the left or from the top action bar, the Execution Notes drawer will open.You can add notes at any time, even if the execution is complete.
Managing global attachments
Adding, editing and deleting global attachments (attachments for the entire execution) is similar to managing step notes. By clicking on the Attachments button either from the global action panel on the left or from the top action bar, the Attachments drawer will open.You can add attachments at any time
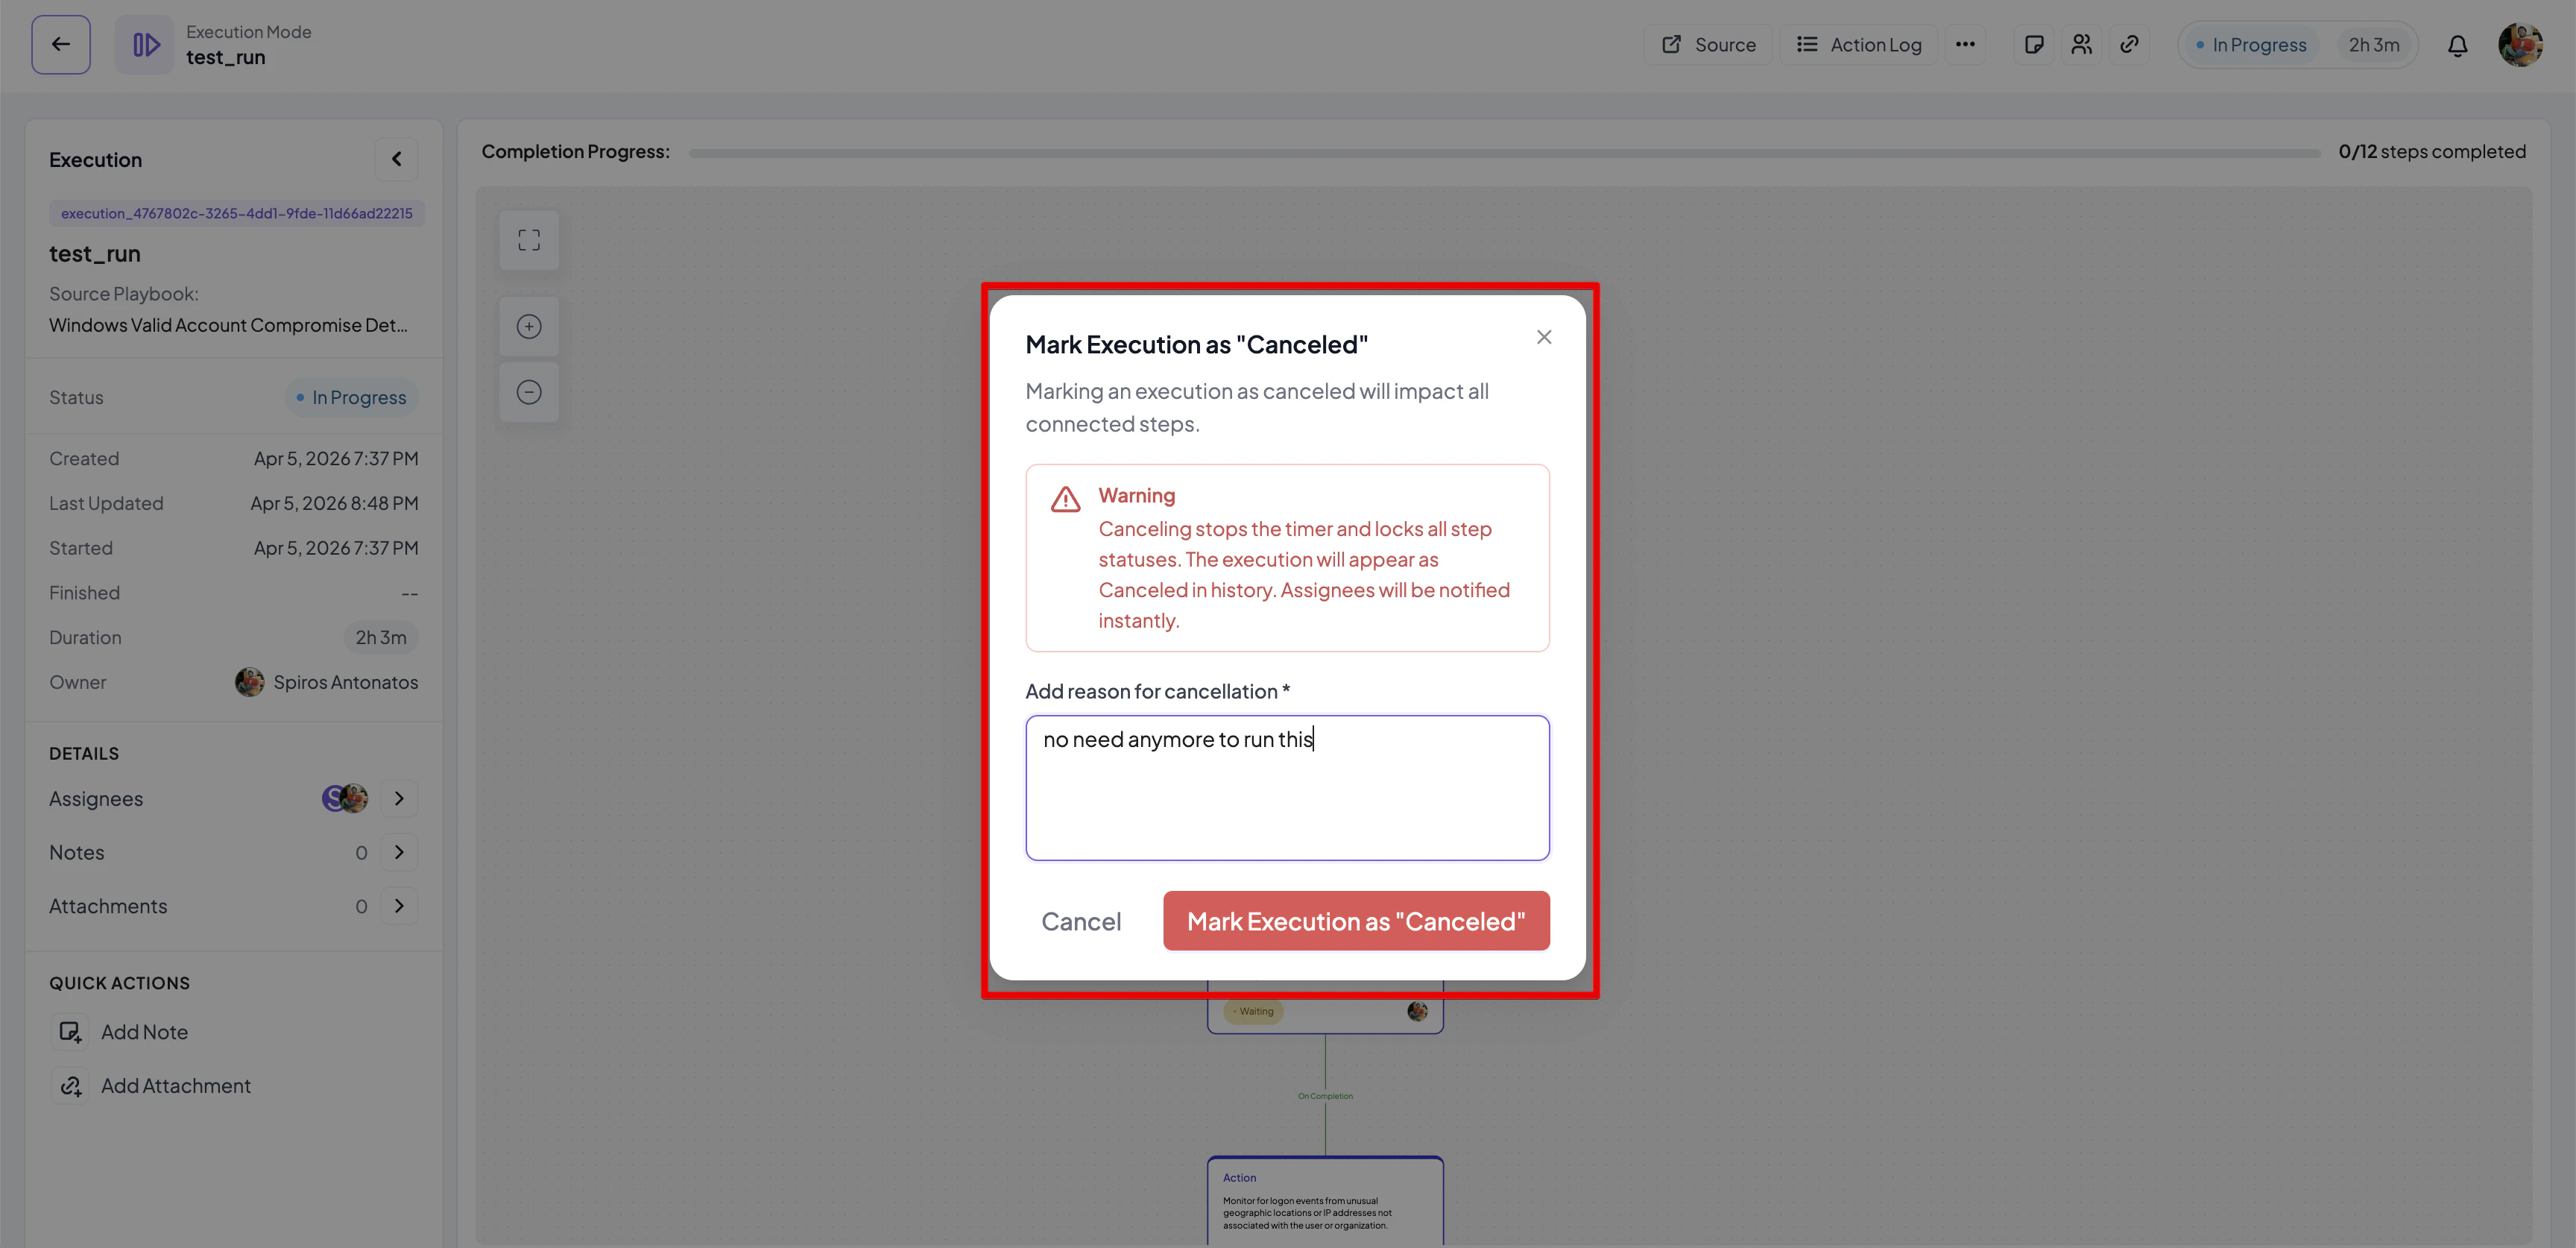
Canceling an execution
If you own an execution and if the execution is in progress, you can cancel it anytime. In order to cancel an execution:- Click on the More Actions button from the top action bar
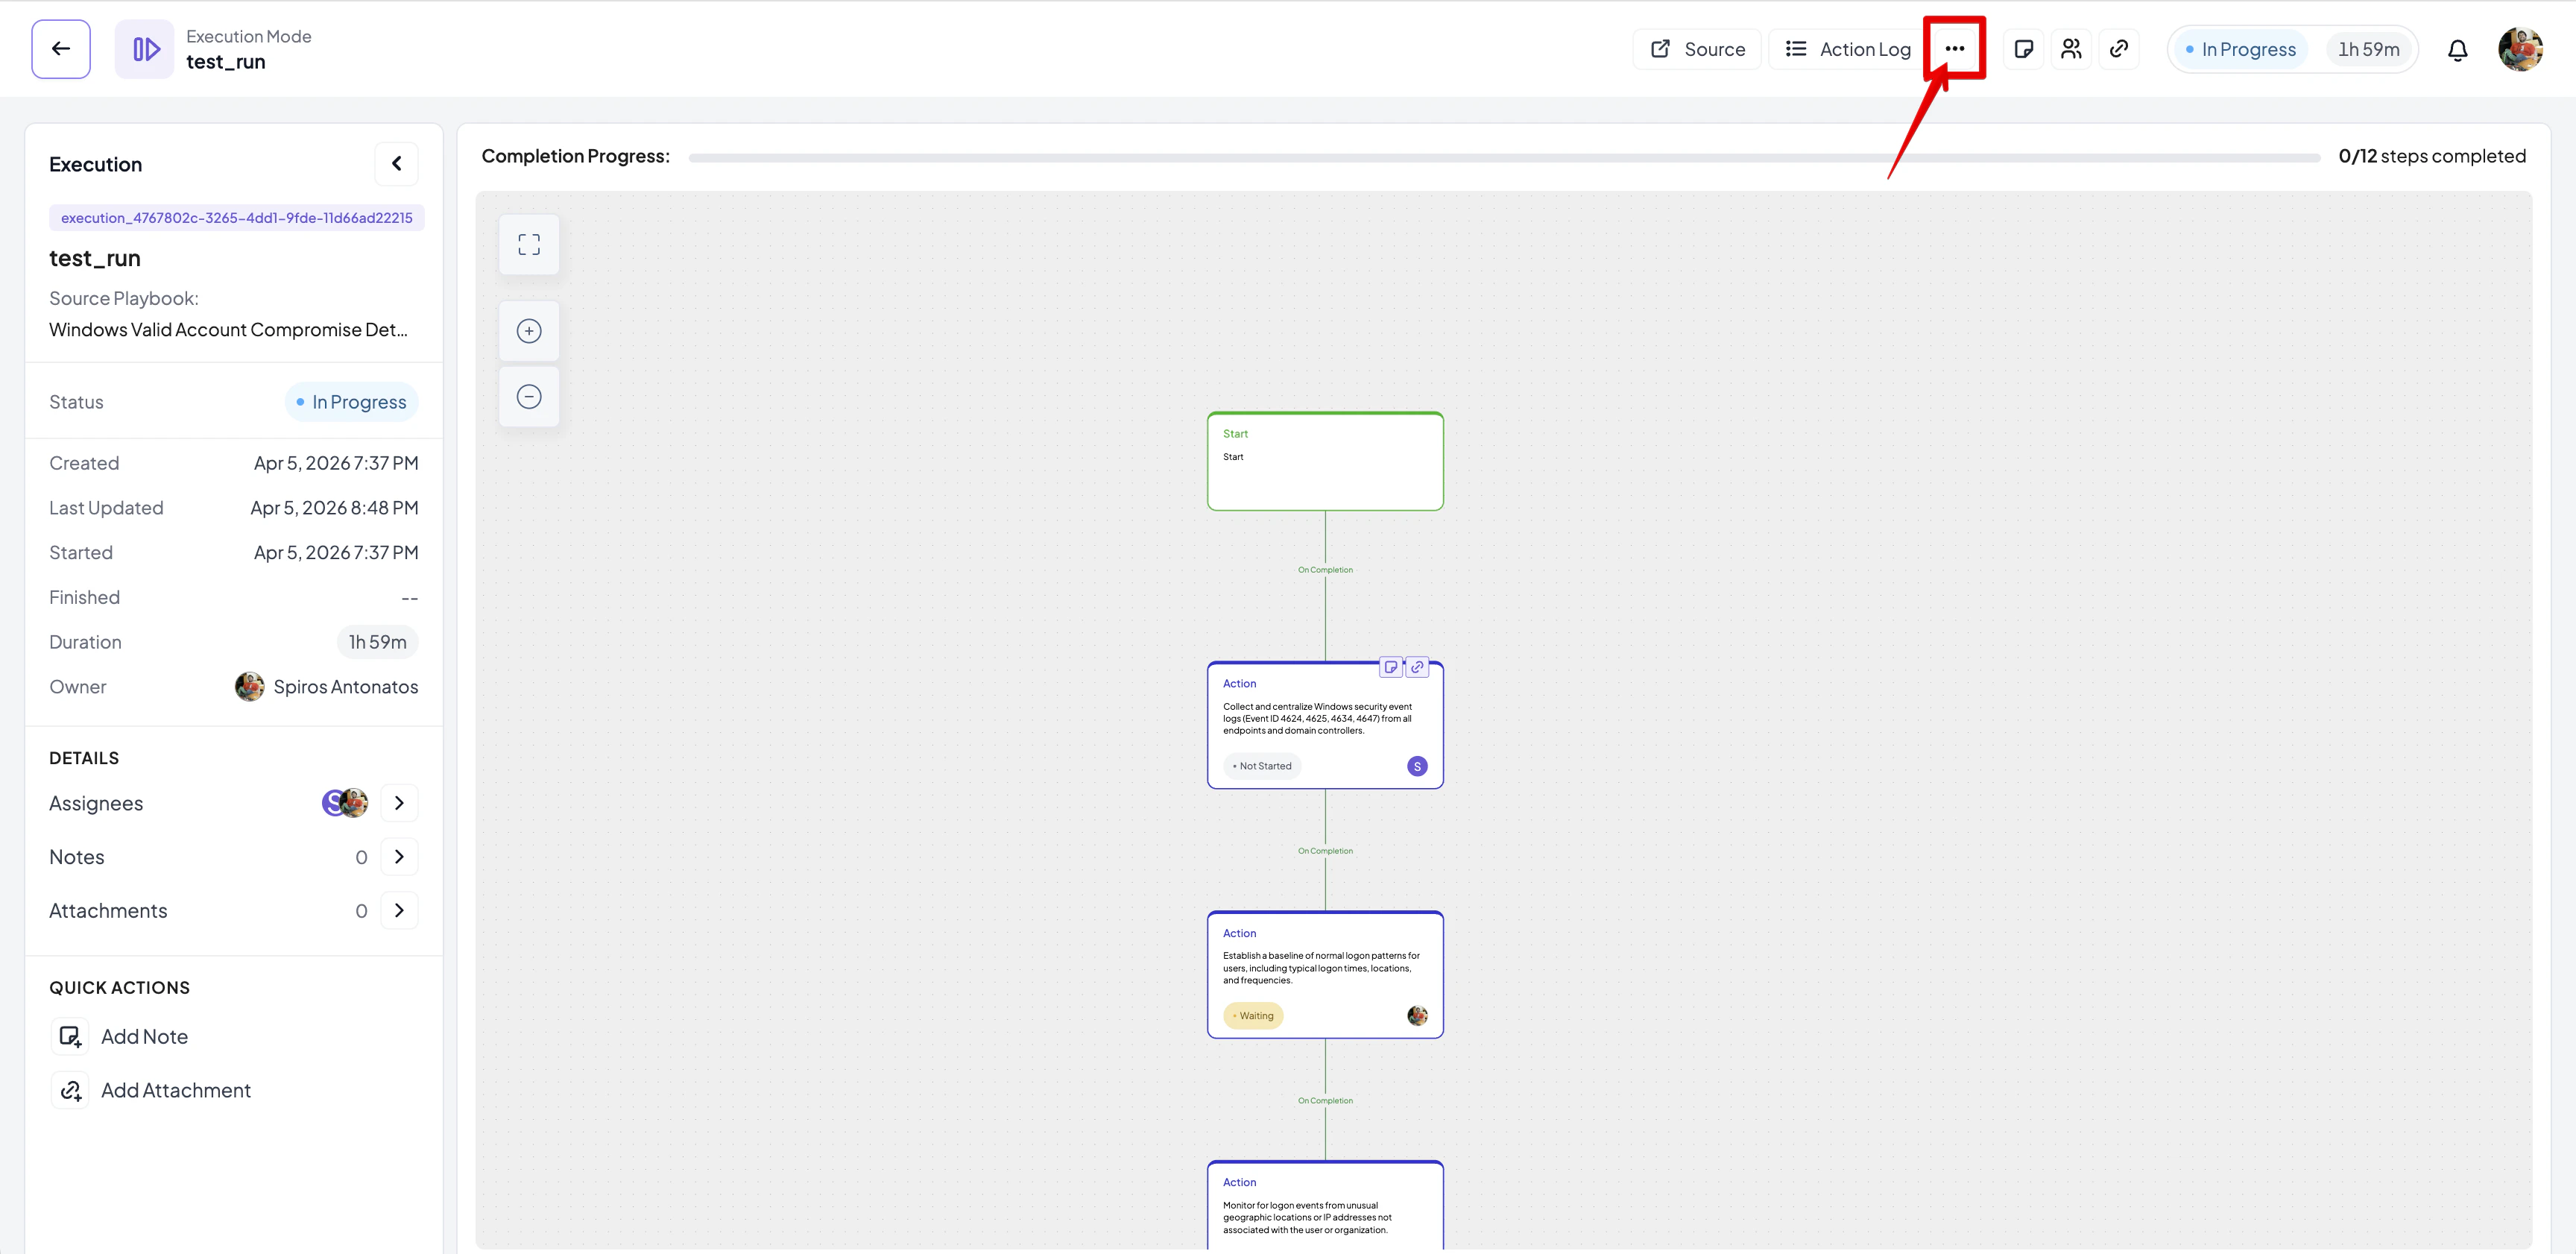
- From the dropdown menu that appears click on Cancel Execution
- Provide a reason for cancellation in the dialog box that appears
- Click on Mark Execution as Canceled to cancel the execution
Executions Overview
A high-level summary of all playbook execution activity, including status distribution, performance insights, and per-playbook/step metrics.Executions Distribution by Status
This section presents a donut chart summarizing the total number of executions and their current statuses.- Total — The aggregate count of all executions (e.g., 8).
- Status breakdown (shown as colored legend items):
- 🔵 In Progress — Executions currently running (e.g., 50%).
- 🔴 Canceled — Executions that were manually stopped before completion (e.g., 12%).
- 🟢 Completed — Executions that finished successfully (e.g., 37%).
- Manual — Executions started by a user, showing a count and percentage of total (e.g., 8 / 100%).
- Automated — Executions triggered automatically by a rule or scheduler (e.g., 0 / 0.00%).
Insights
The Insights section displays key performance metrics calculated only across completed executions (i.e., those not currently in progress). It contains four metric cards:
Clicking on a linked playbook name in any of the Insights cards navigates directly to the relevant execution detail.
Performance by Playbook
A paginated table ranking playbooks by execution duration, sortable via the Sort by dropdown (e.g., Slowest to Fastest).
Pagination controls (‹ page indicator ›) appear below the table when there are multiple pages of results.
Performance by Step
A paginated table ranking individual playbook steps by average execution time, also sortable via a Sort by dropdown.
Pagination controls allow browsing through all steps (e.g., page 1/2).
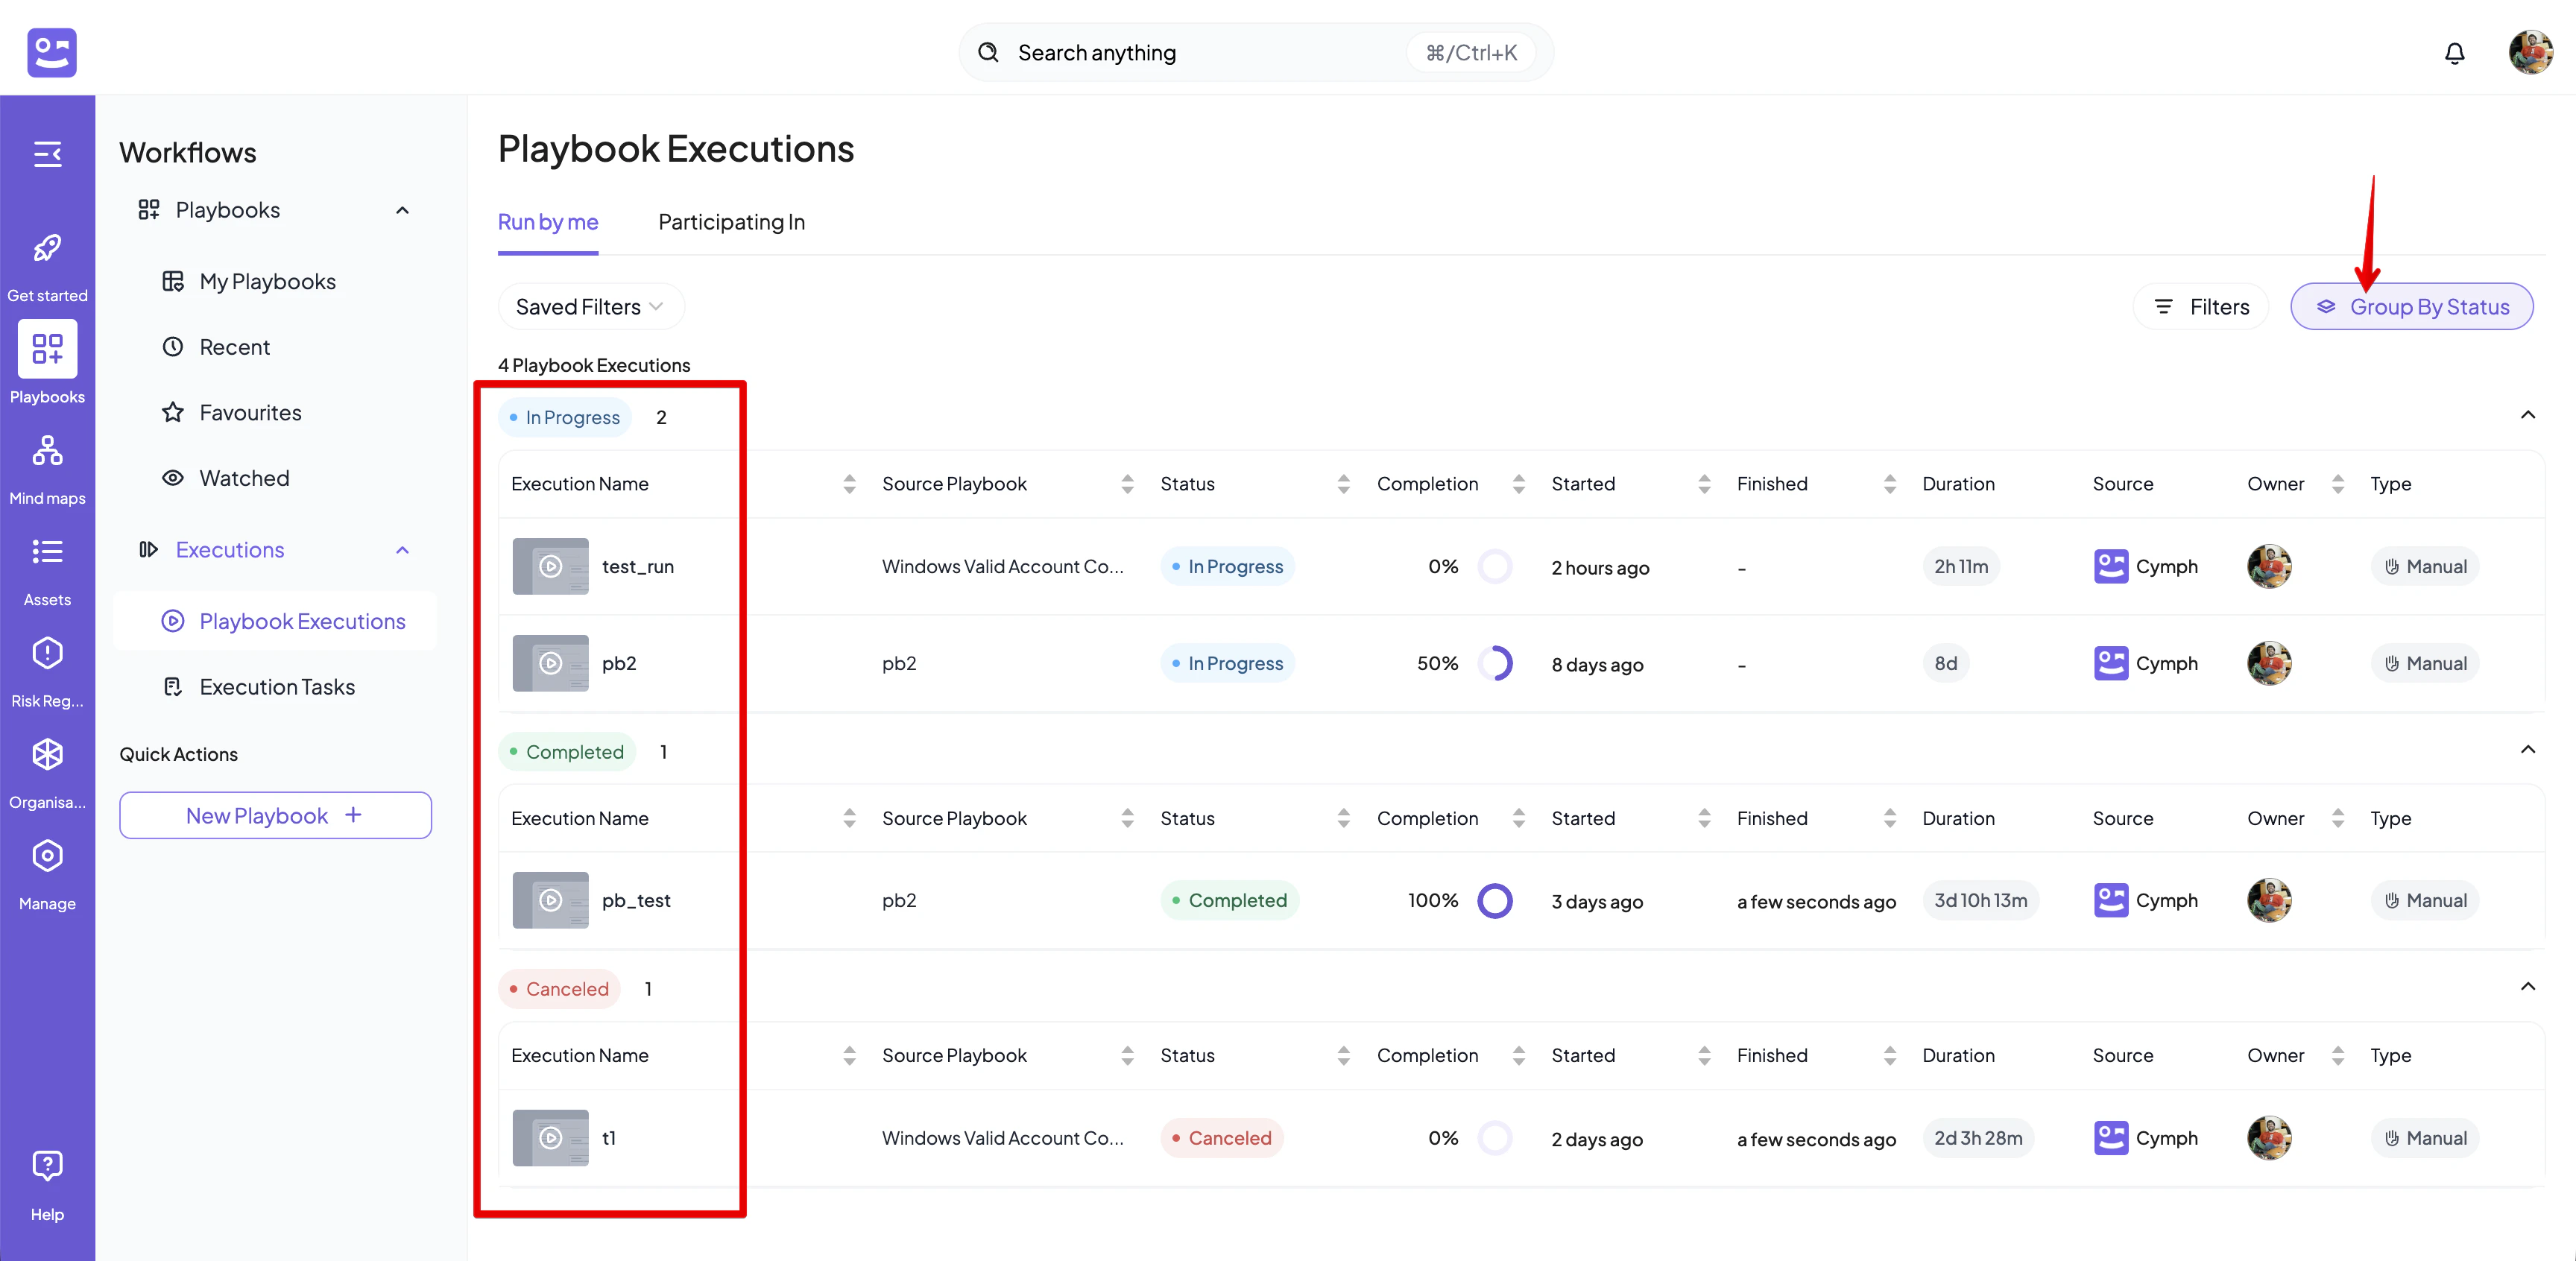
Execution List
- Navigate to the Playbook Executions page
- Click on Playbooks from the left menu
- Select Playbook Executions from the navigation sidebar
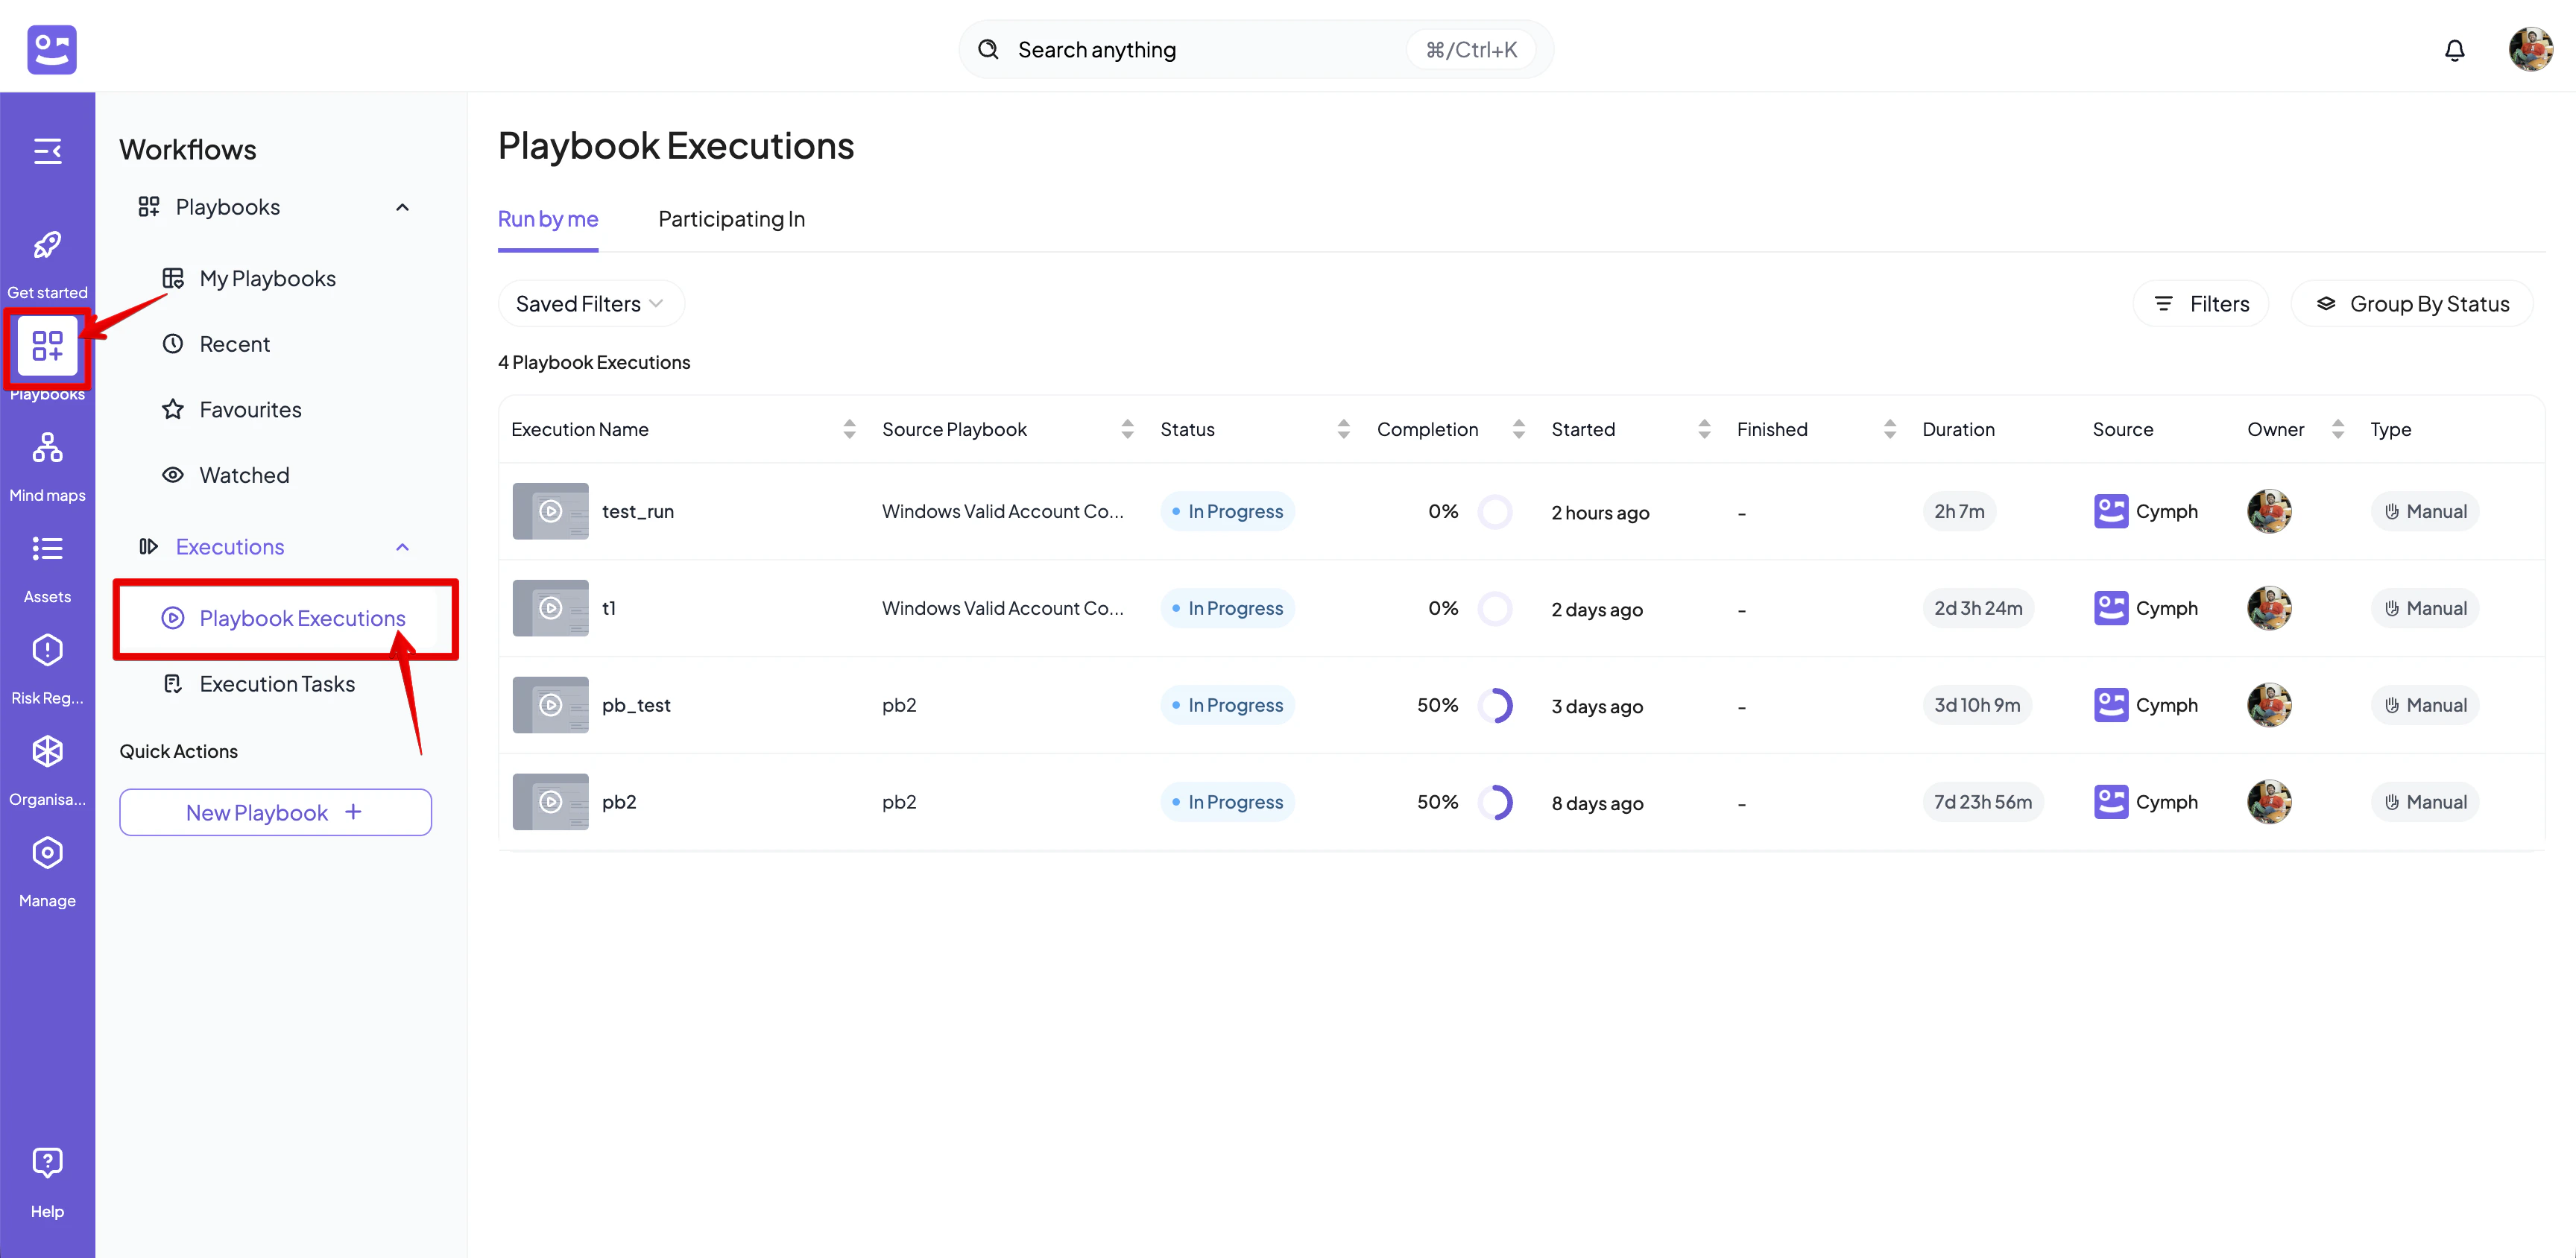
- Click on Group By Status button
- Executions are grouped by status
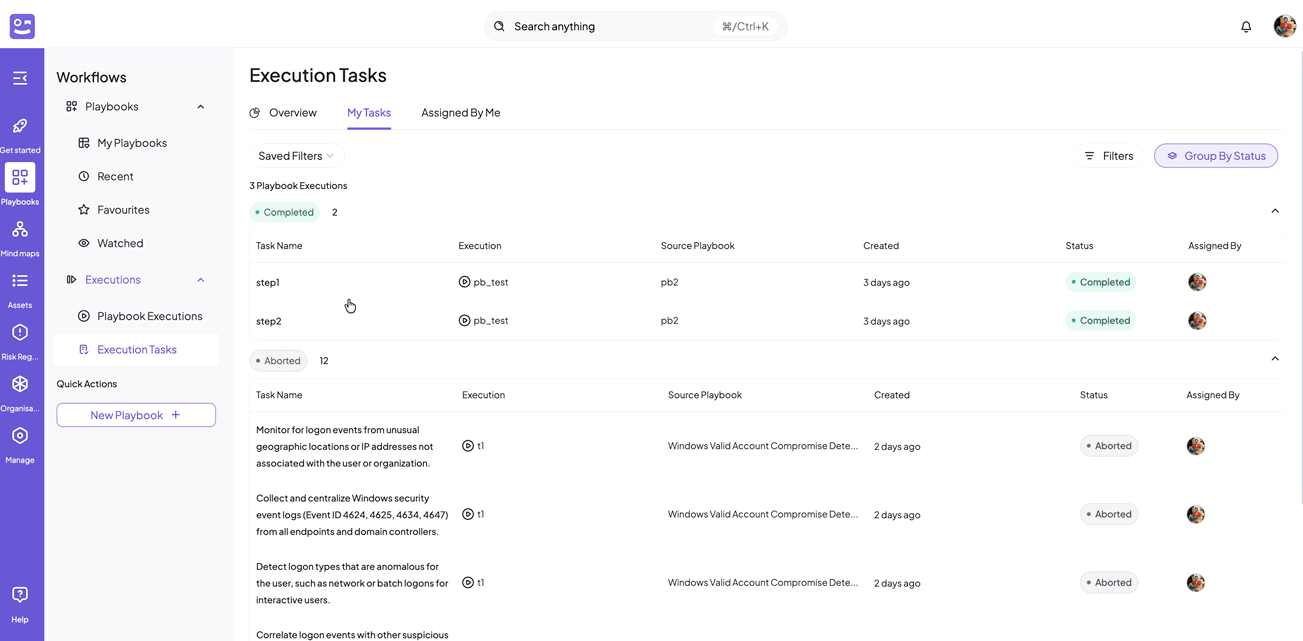
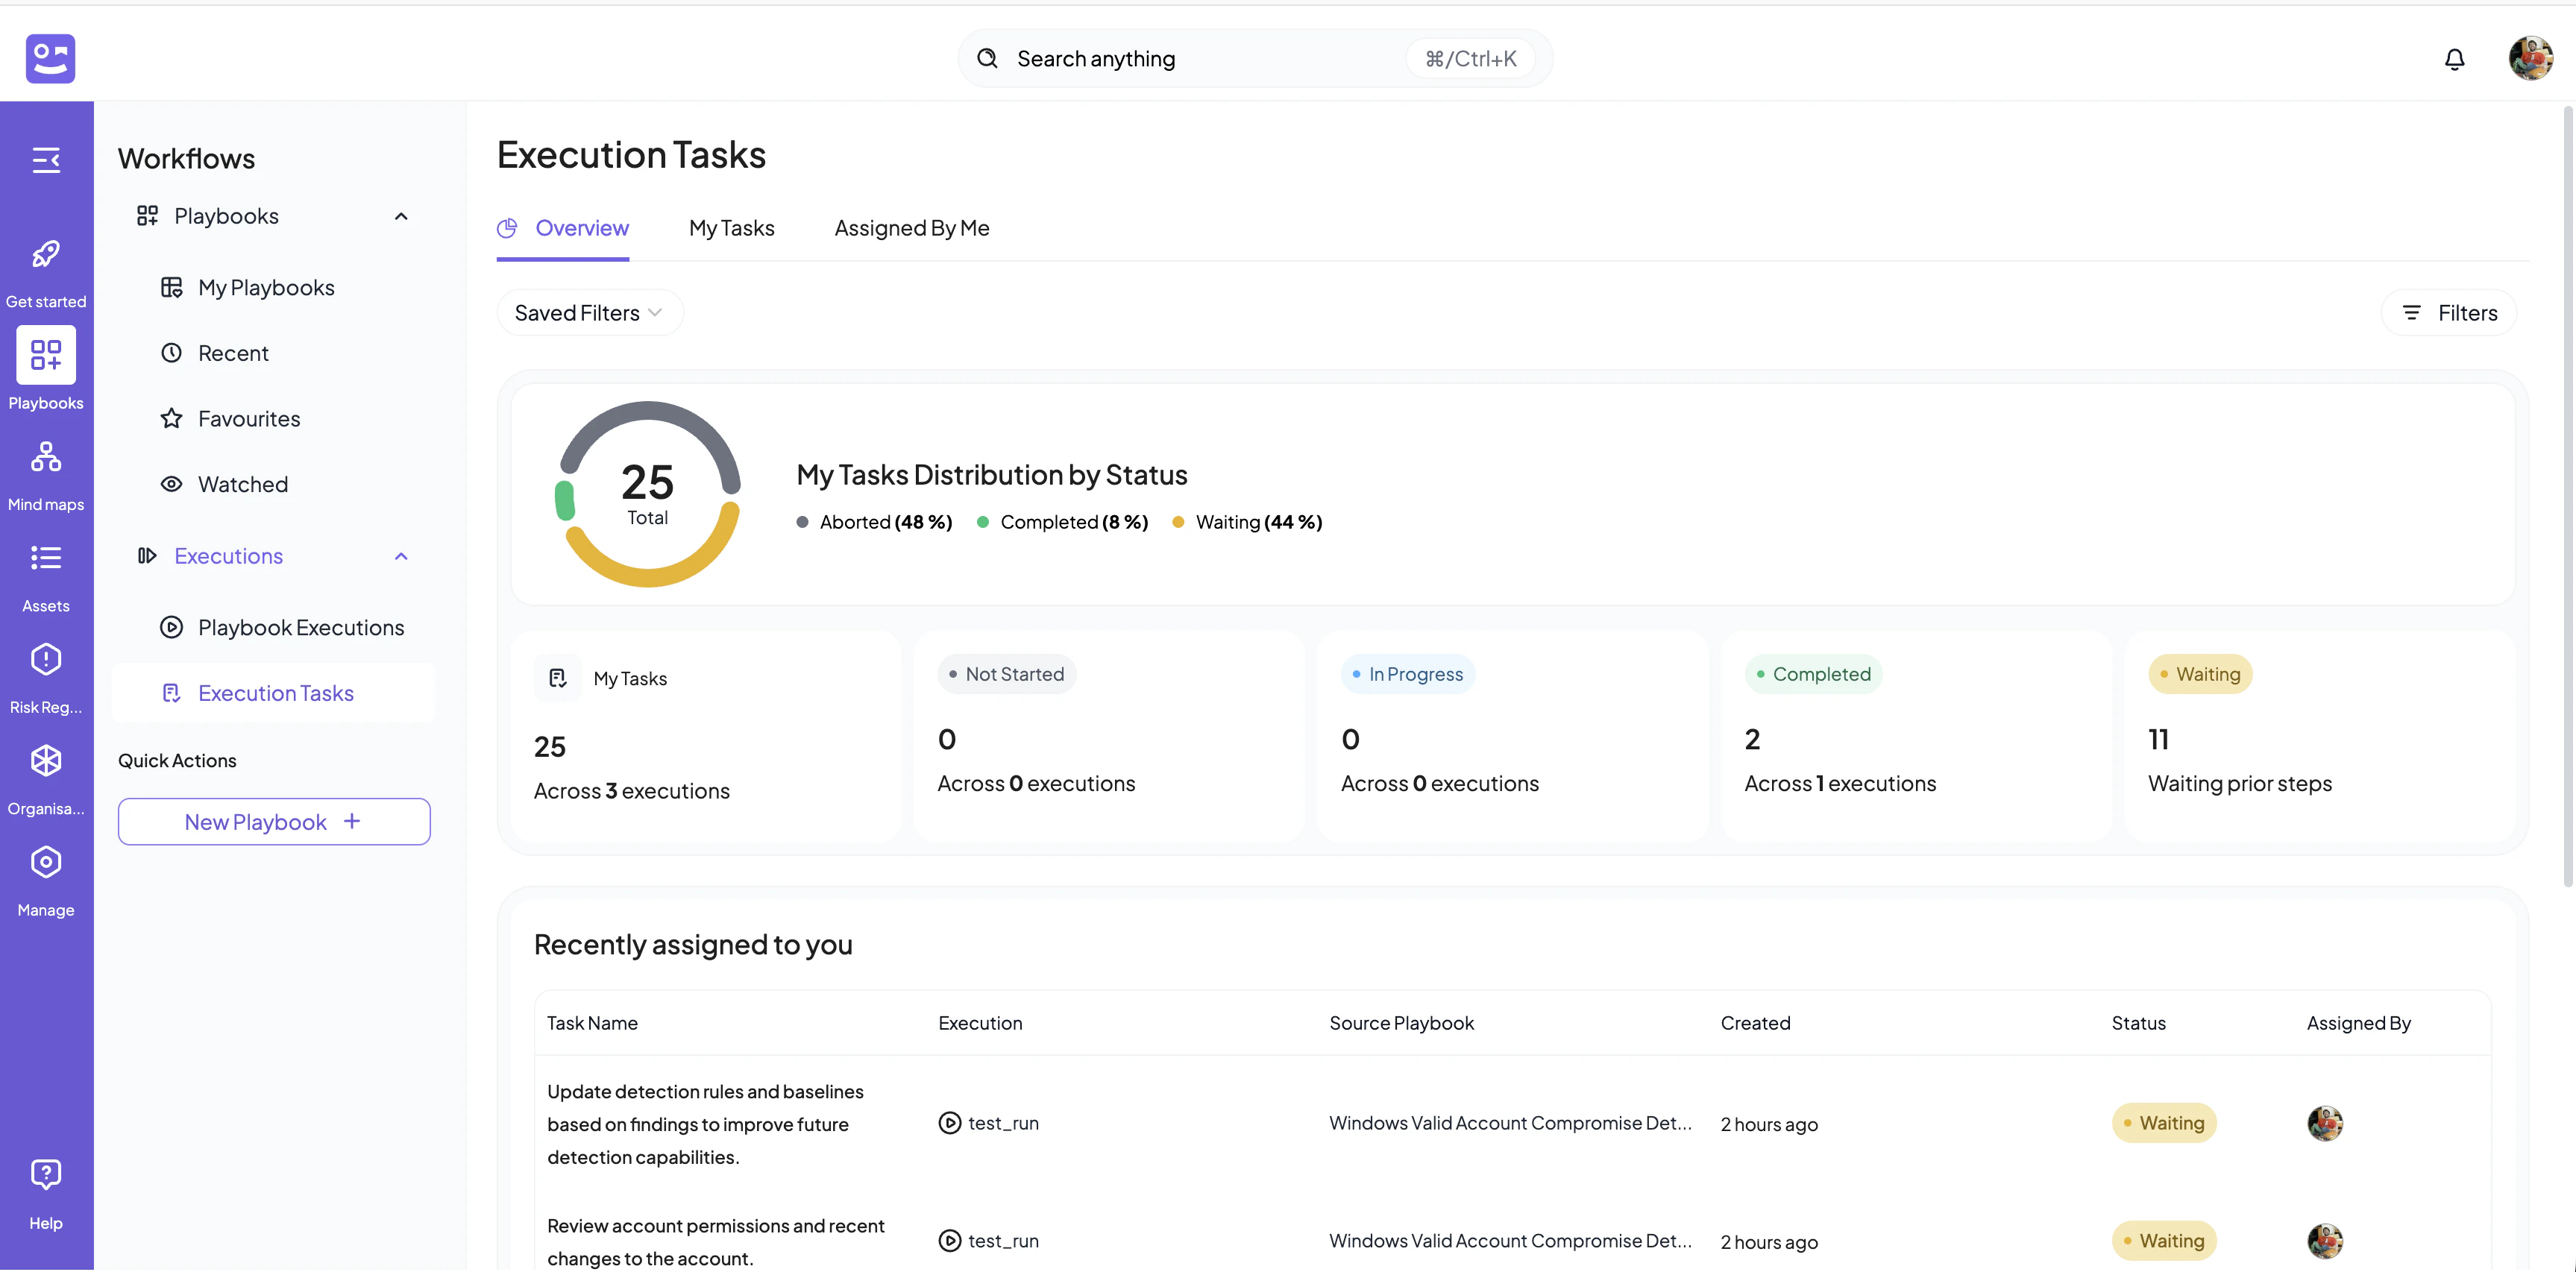
Tasks Overview
- Navigate to the Execution Tasks page
- Click on Playbooks from the left menu
- Select Execution Tasks from the navigation sidebar
- Overview: in this view, you will be able to see at a quick glance your tasks, their status and the recently assigned tasks to you
- My tasks: this view is a list of tasks assigned to you. You can also group by status to see the tasks grouped
- Assigned By Me: this view is a list of tasks that you assigned to either you or other users. You can also group by status to see the tasks grouped