How to create an integration
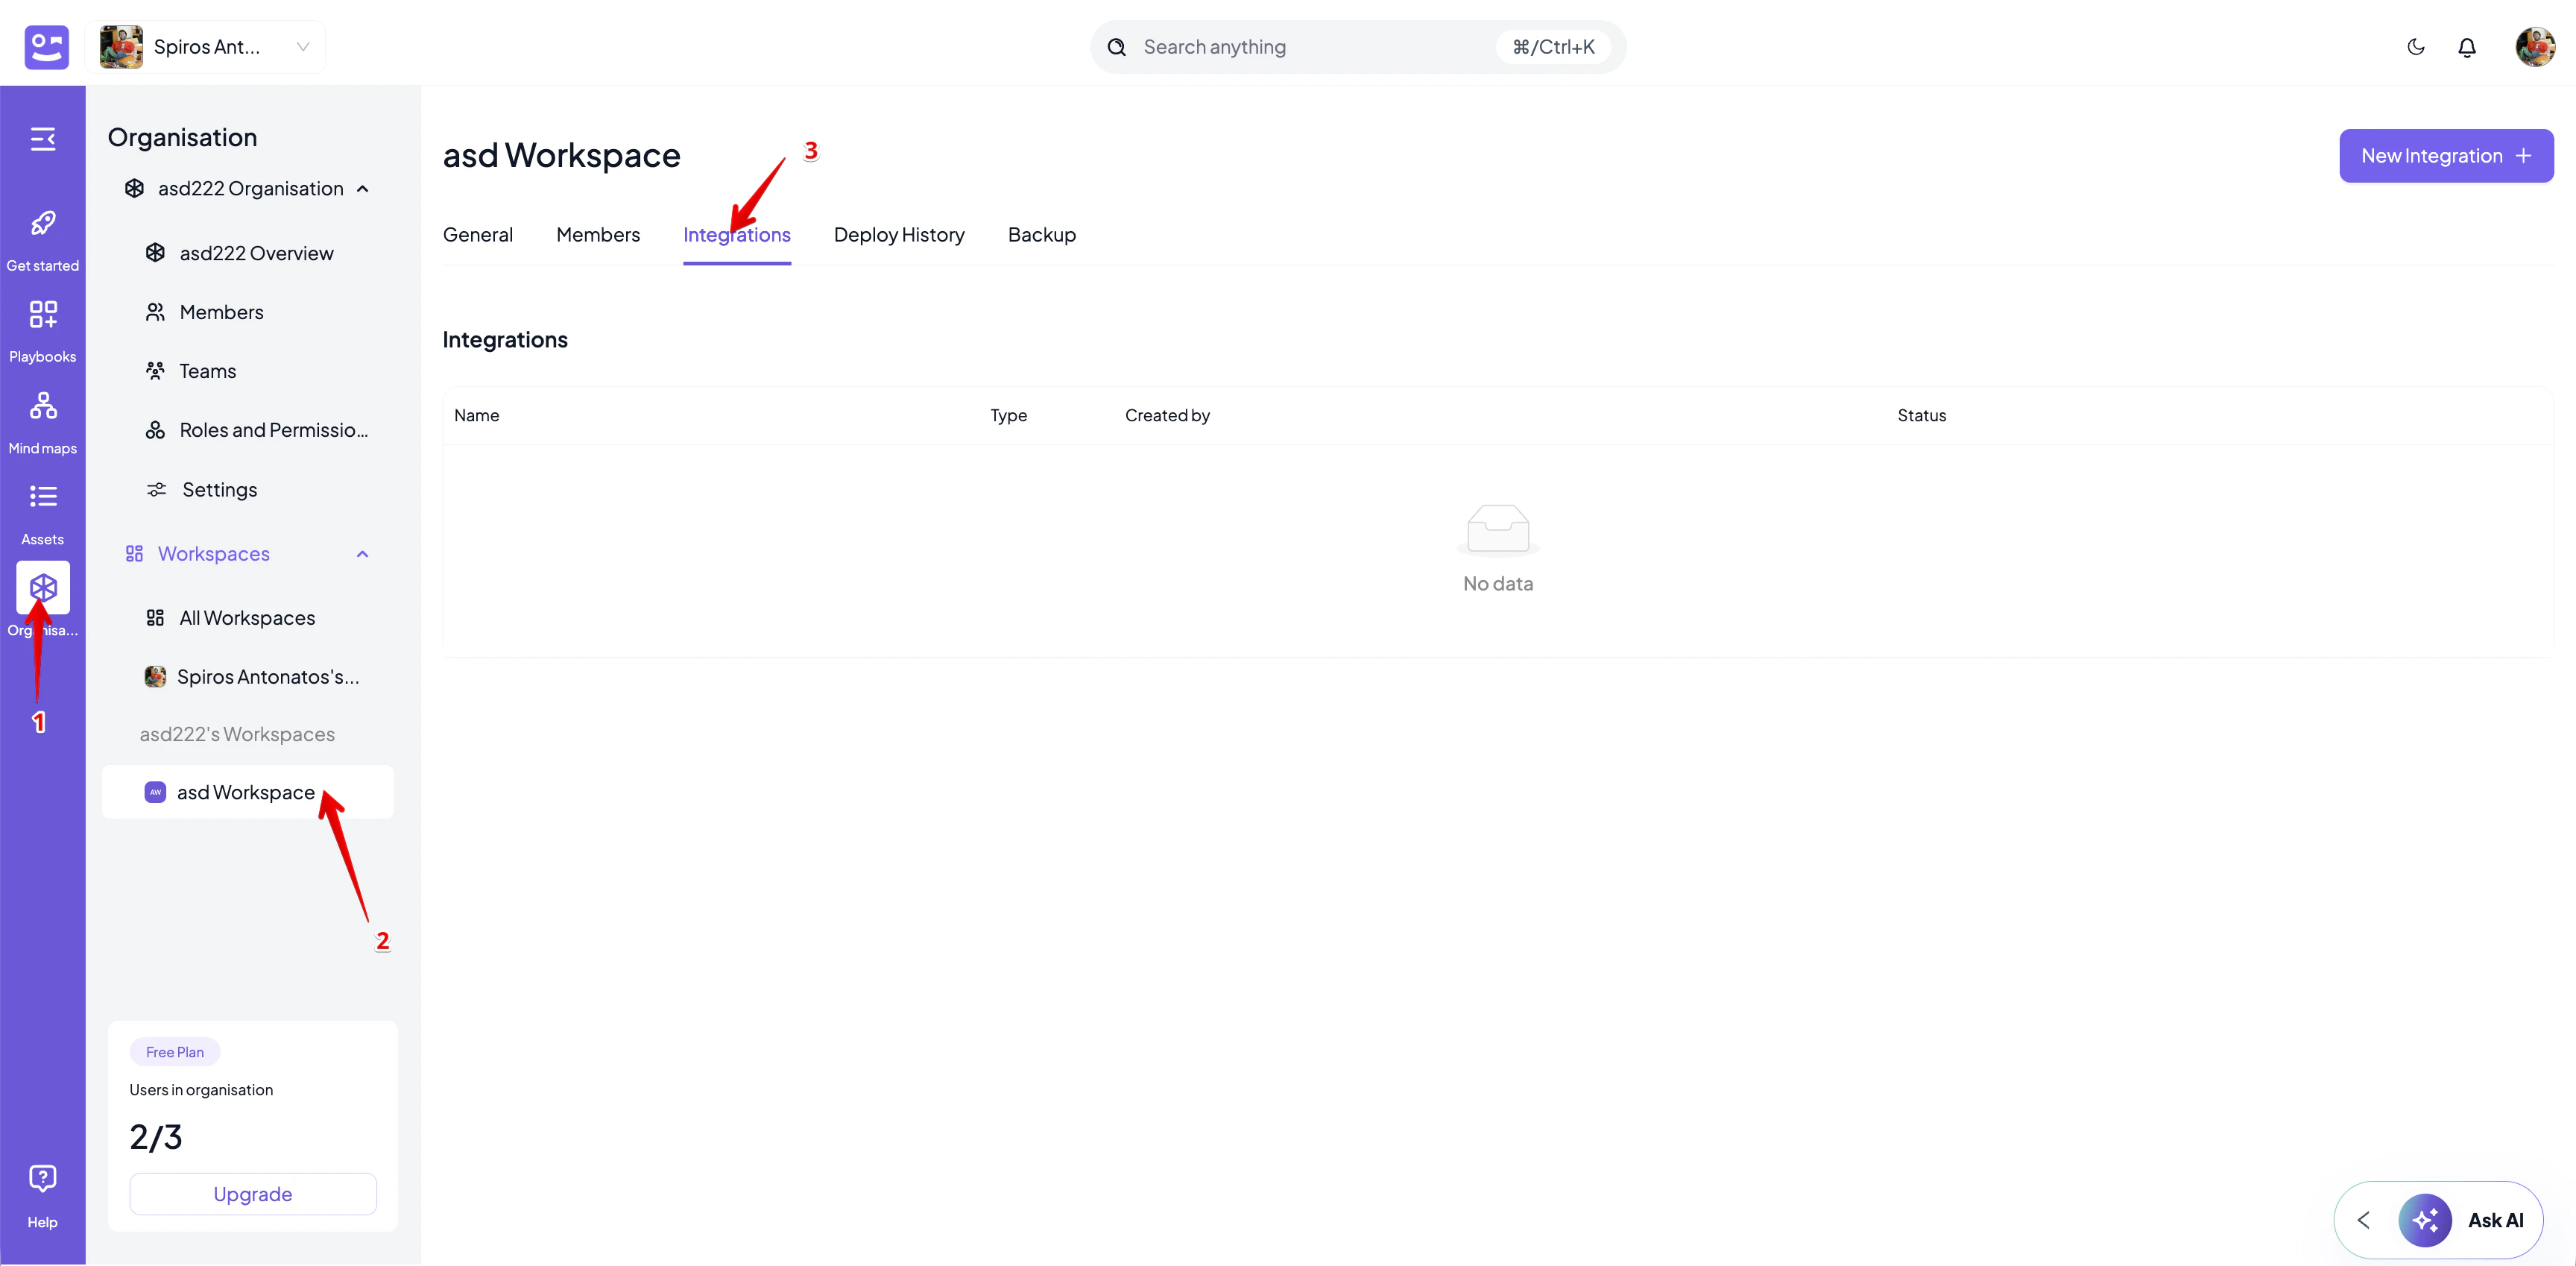
- Go to the workspace you want to add an integration for
- From Workspace menu, select the workspace from the navigator
- Go to the Integrations tab.
- Select the Manage from the navigation menu and the Integrations
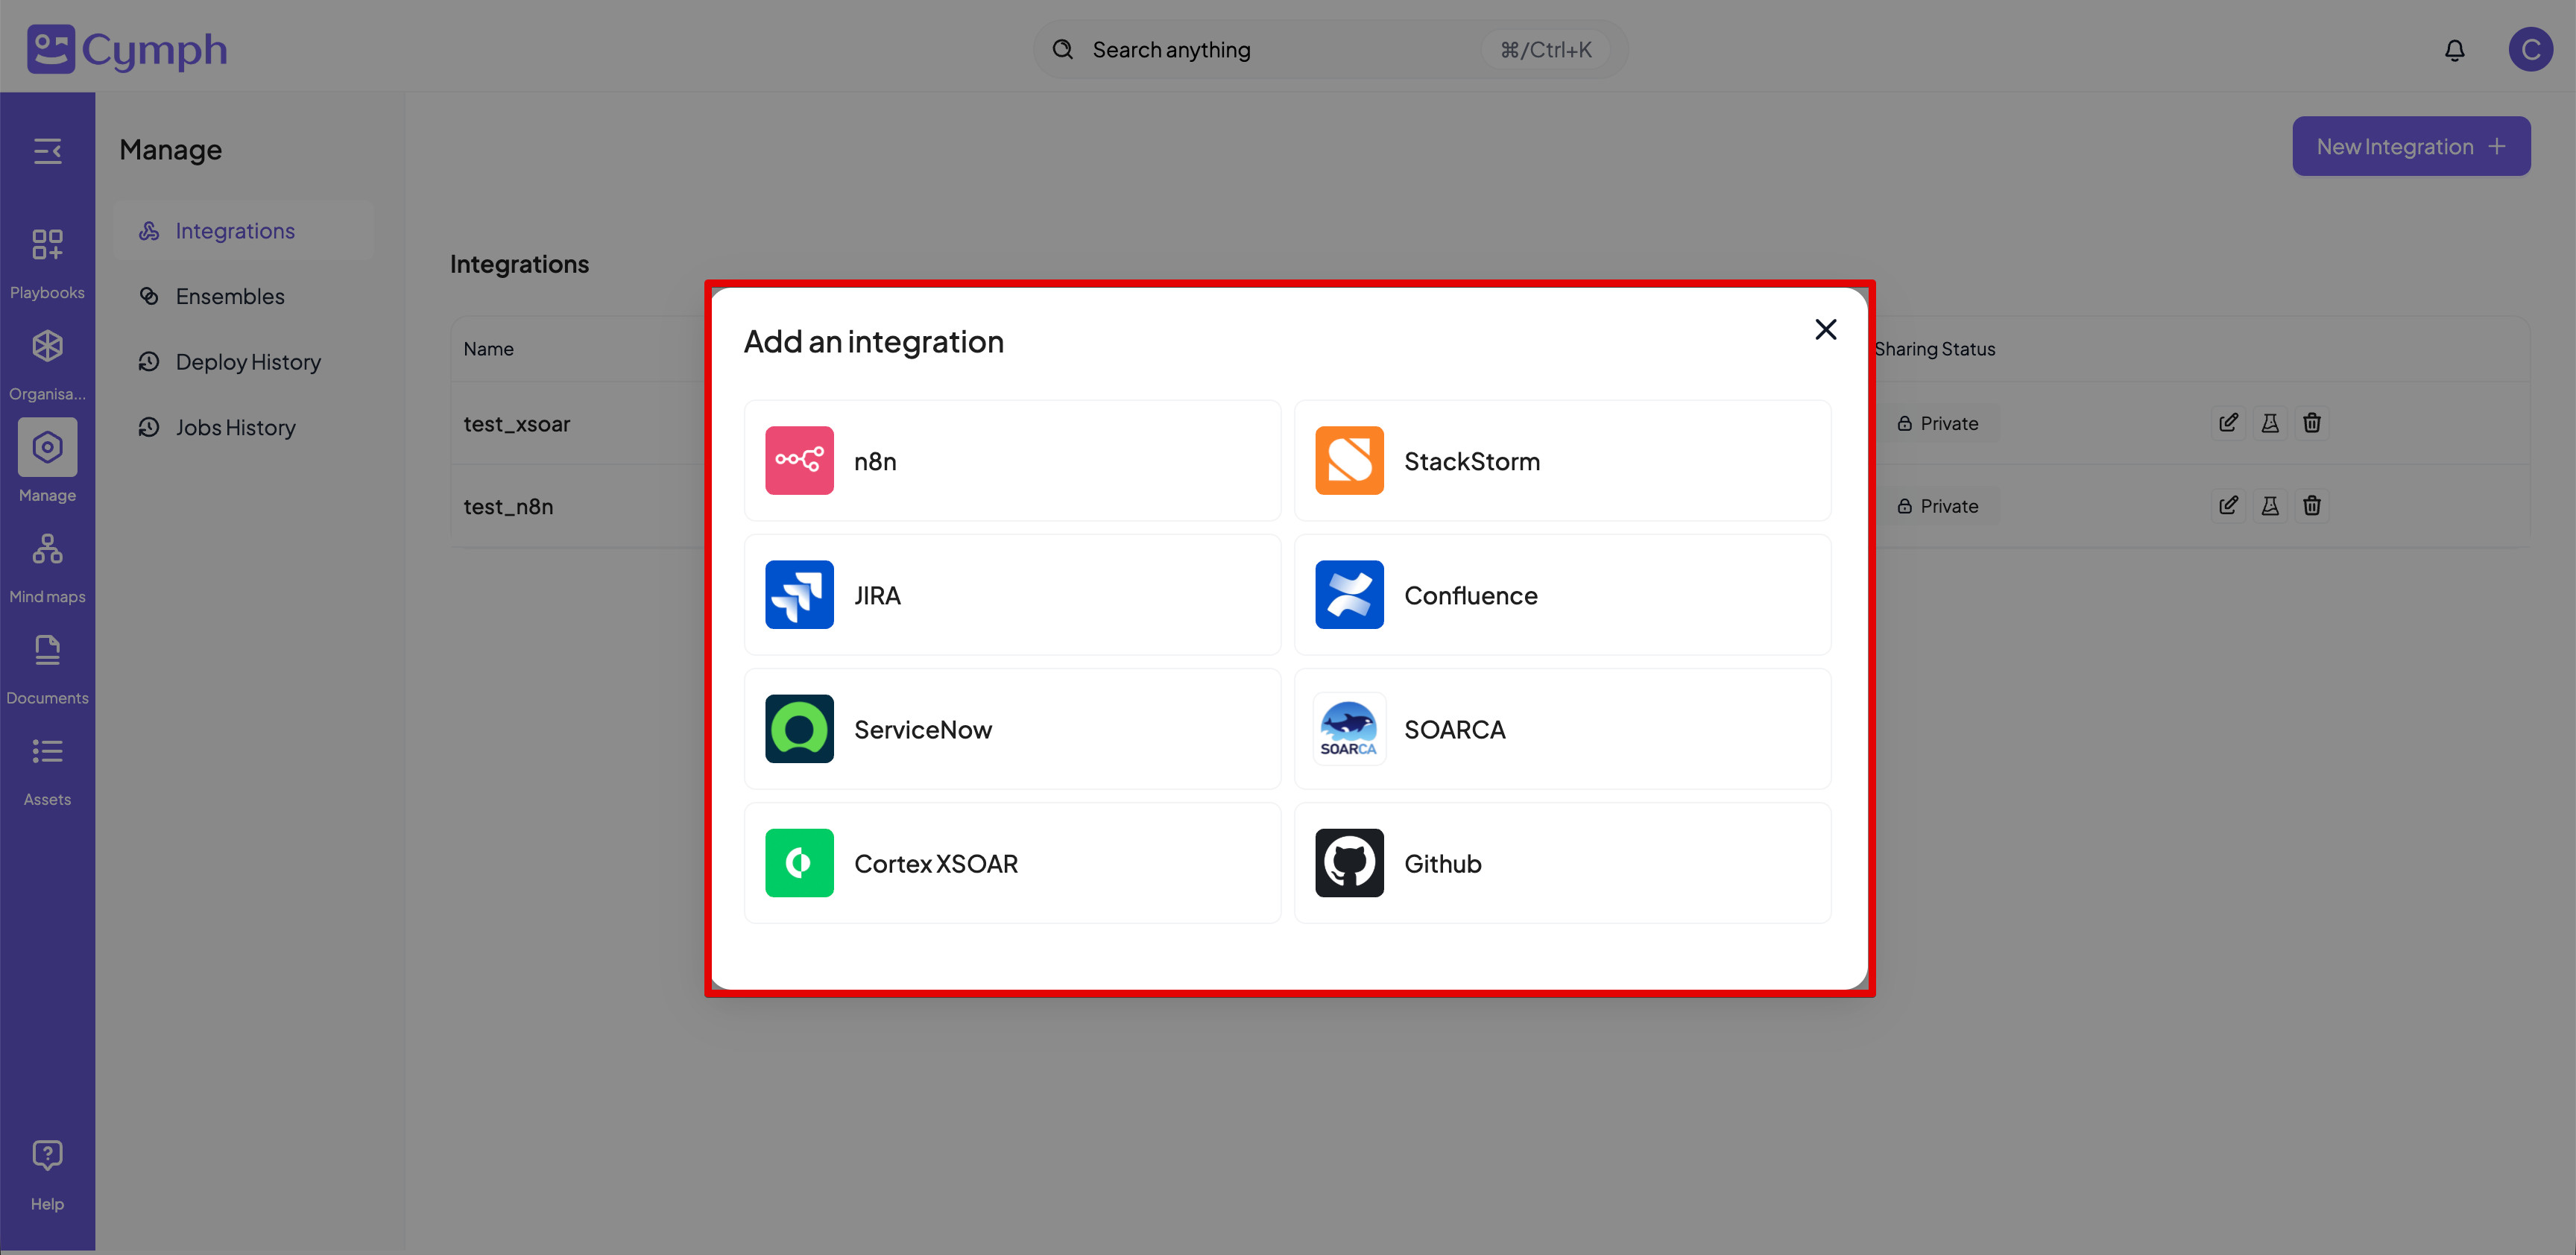
- Click on New Integration from the top right corner
- Select your integration type. The following types are available:
- Cortex XSOAR
- n8n
- Microsoft Sentinel
- Wazuh
- StackStorm
- Confluence
- JIRA
- ServiceNow
- Github
- GitLab
- GitBook
- SharePoint
- DFIR-IRIS
- Azure
- Fill in the details for your integration. In the screenshot below, you see an example for n8n. Common to all integration setyps is the option to share the instance with the rest of your organisation.
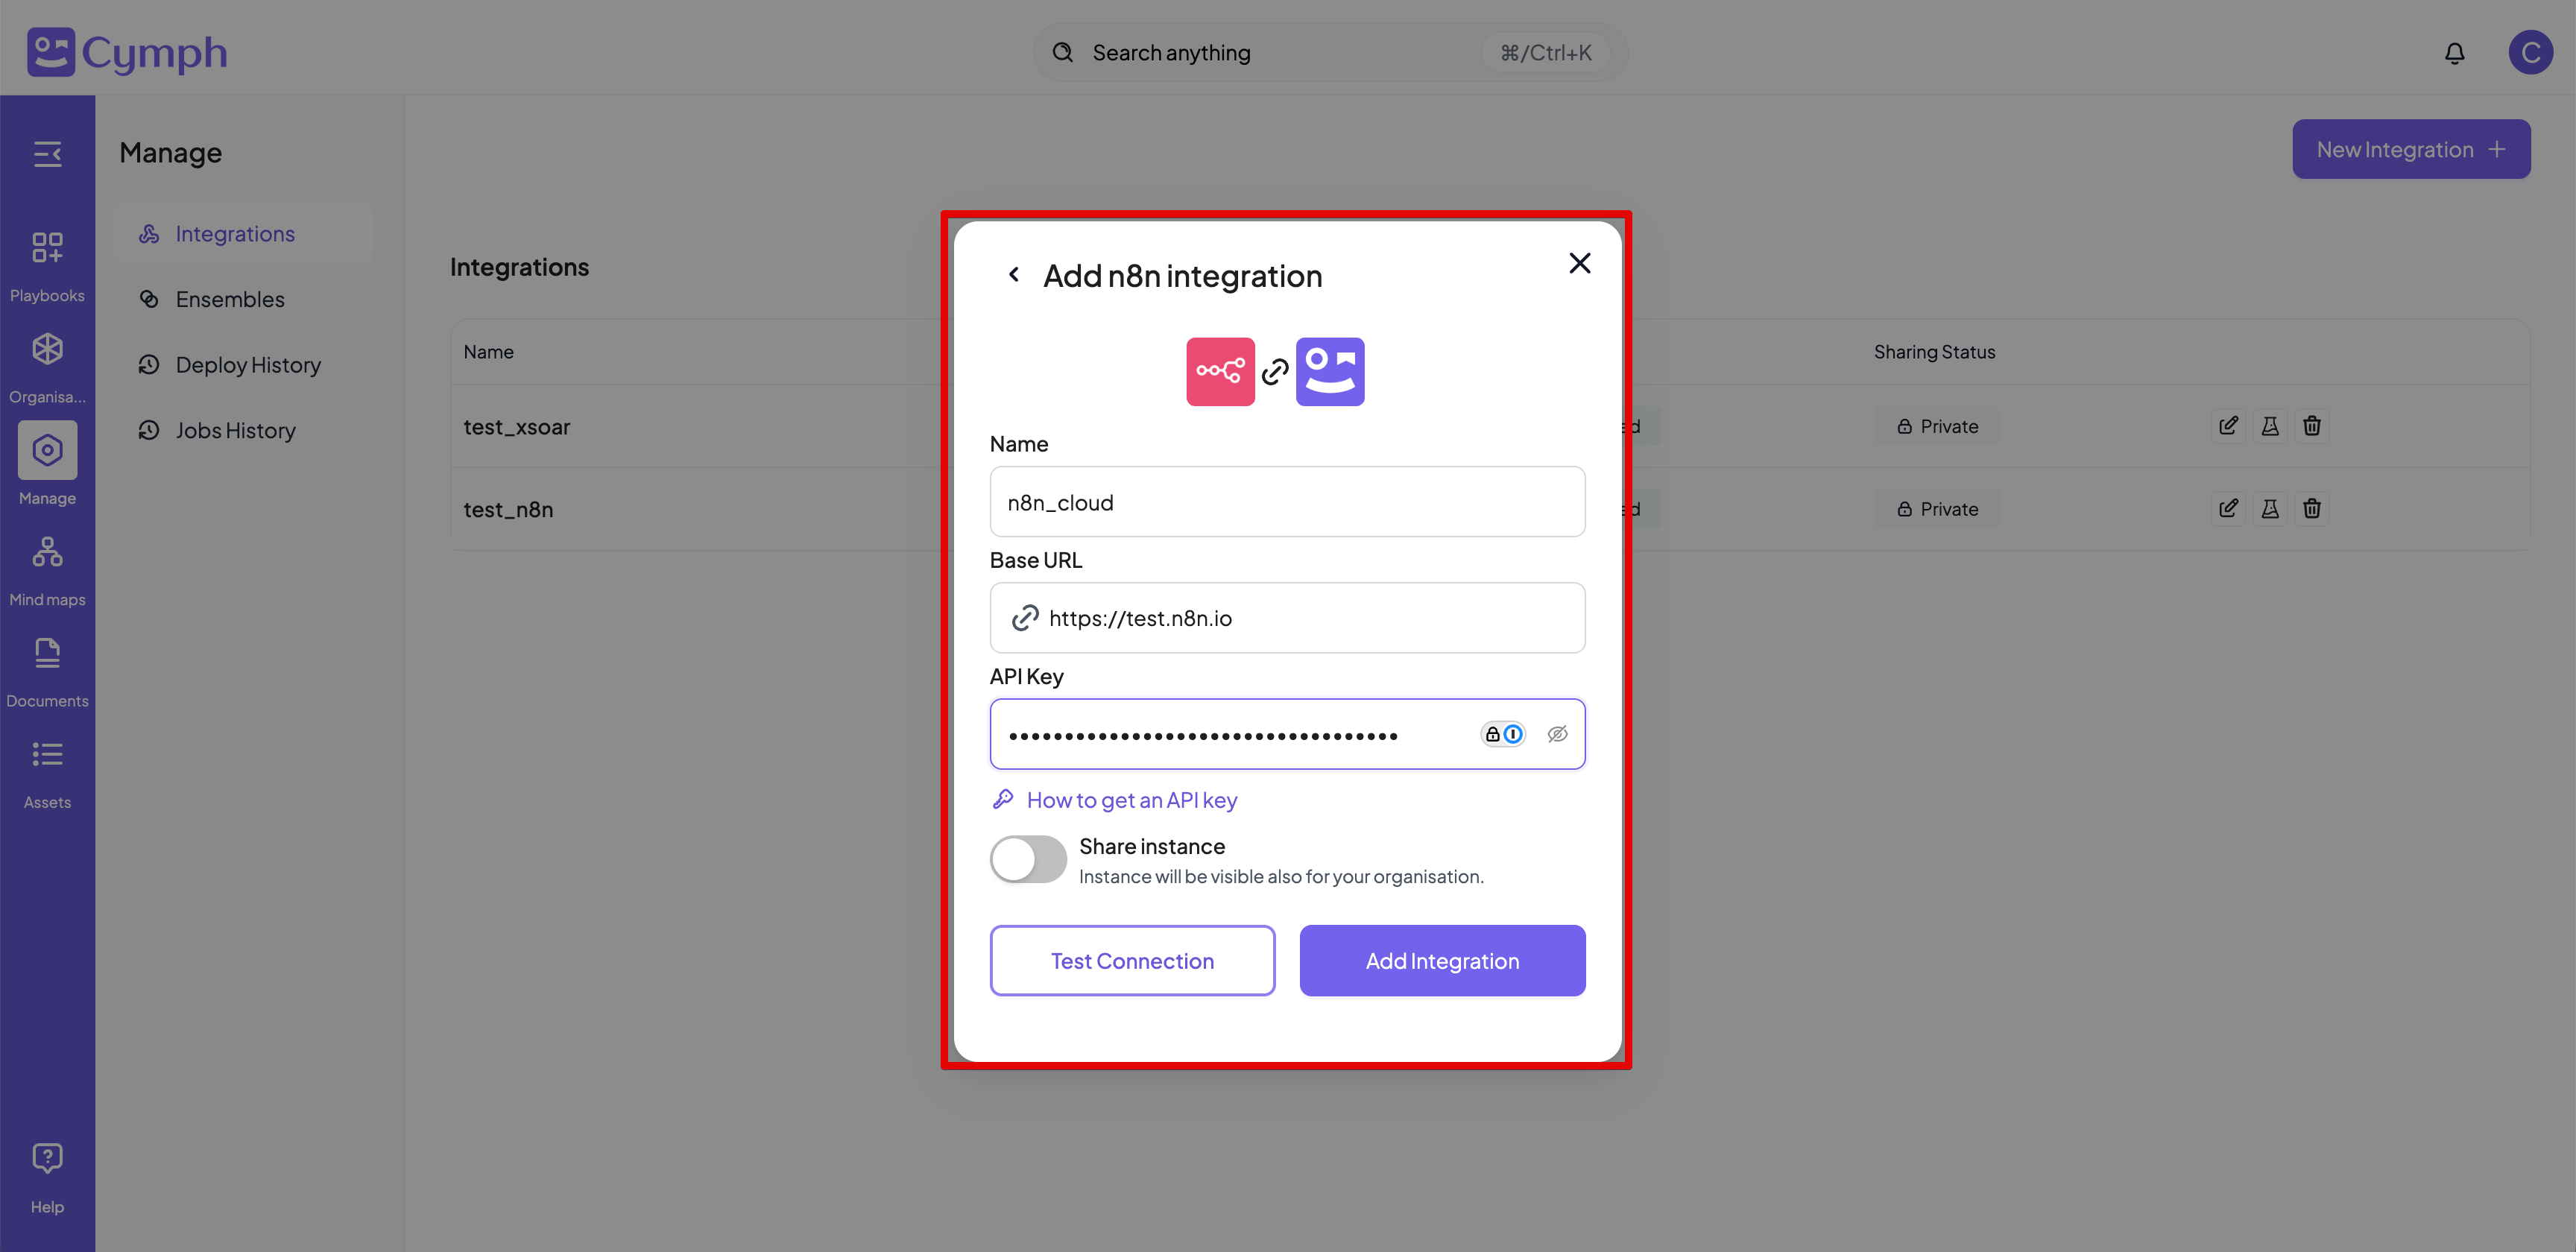
- Before adding the integration, you can test the settings via Test Connection
- Click on Add Integration to add your integration
- Depending on your plan, you might see different list of available integration types. The n8n, JIRA, StackStorm and SOARCA integration is always available for all plans.
- Integrations should have unique name per type.
- When testing an integration, the backend will give up testing after 5 seconds of trying to connect to the integration instance
- Depending on the integration type, you might see different options for the integration
Adding a Cortex XSOAR integration
When you add an integration with Cortex XSOAR, you need:- The URL of the instance
- An API key from your instance. In order to generate an API key, you need to follow the instructions here
Adding an n8n integration
When you add an integration with n8n, you need:- The URL of the instance
- An API key from n8n. In order to generate an n8n API key, you need to follow the instructions here
Adding a ServiceNow integration
When you add an integration with ServiceNow, you need:- The URL of the instance
- An API key from ServiceNow. In order to generate an API key, you need to follow the instructions here
Adding a StackStorm integration
The integration with StackStorm requires:- The URL of the instance
- An API key. All API key management is currently available via the StackStorm CLI or API. To create an API key:
st2 apikey create -k -m '{"used_by": "my integration"}'
You can read more detailed documentation here
Adding a JIRA or Confluence integration
The integration with JIRA or Confluence requires:- The URL of your instance, e.g. https://mydomain.atlassian.net
- The e-mail address of the user, e.g. myuser@example.com
- An API token for your JIRA account. You can follow the instructions provided here to generate a token. The token must be created for the JIRA app and have the appropriate scopes for reading, updating and deleting issues.
read:page:confluenceread:space:confluenceor if you are using classic scopes:
read:confluence-content.allread:confluence-space.summary
For JIRA, the following scopes are required for your API token:read:project:jiraread:issue-type:jiraread:field:jirawrite:issue:jiraor in case you are using classic scopes:
read:jira-workwrite:jira-work
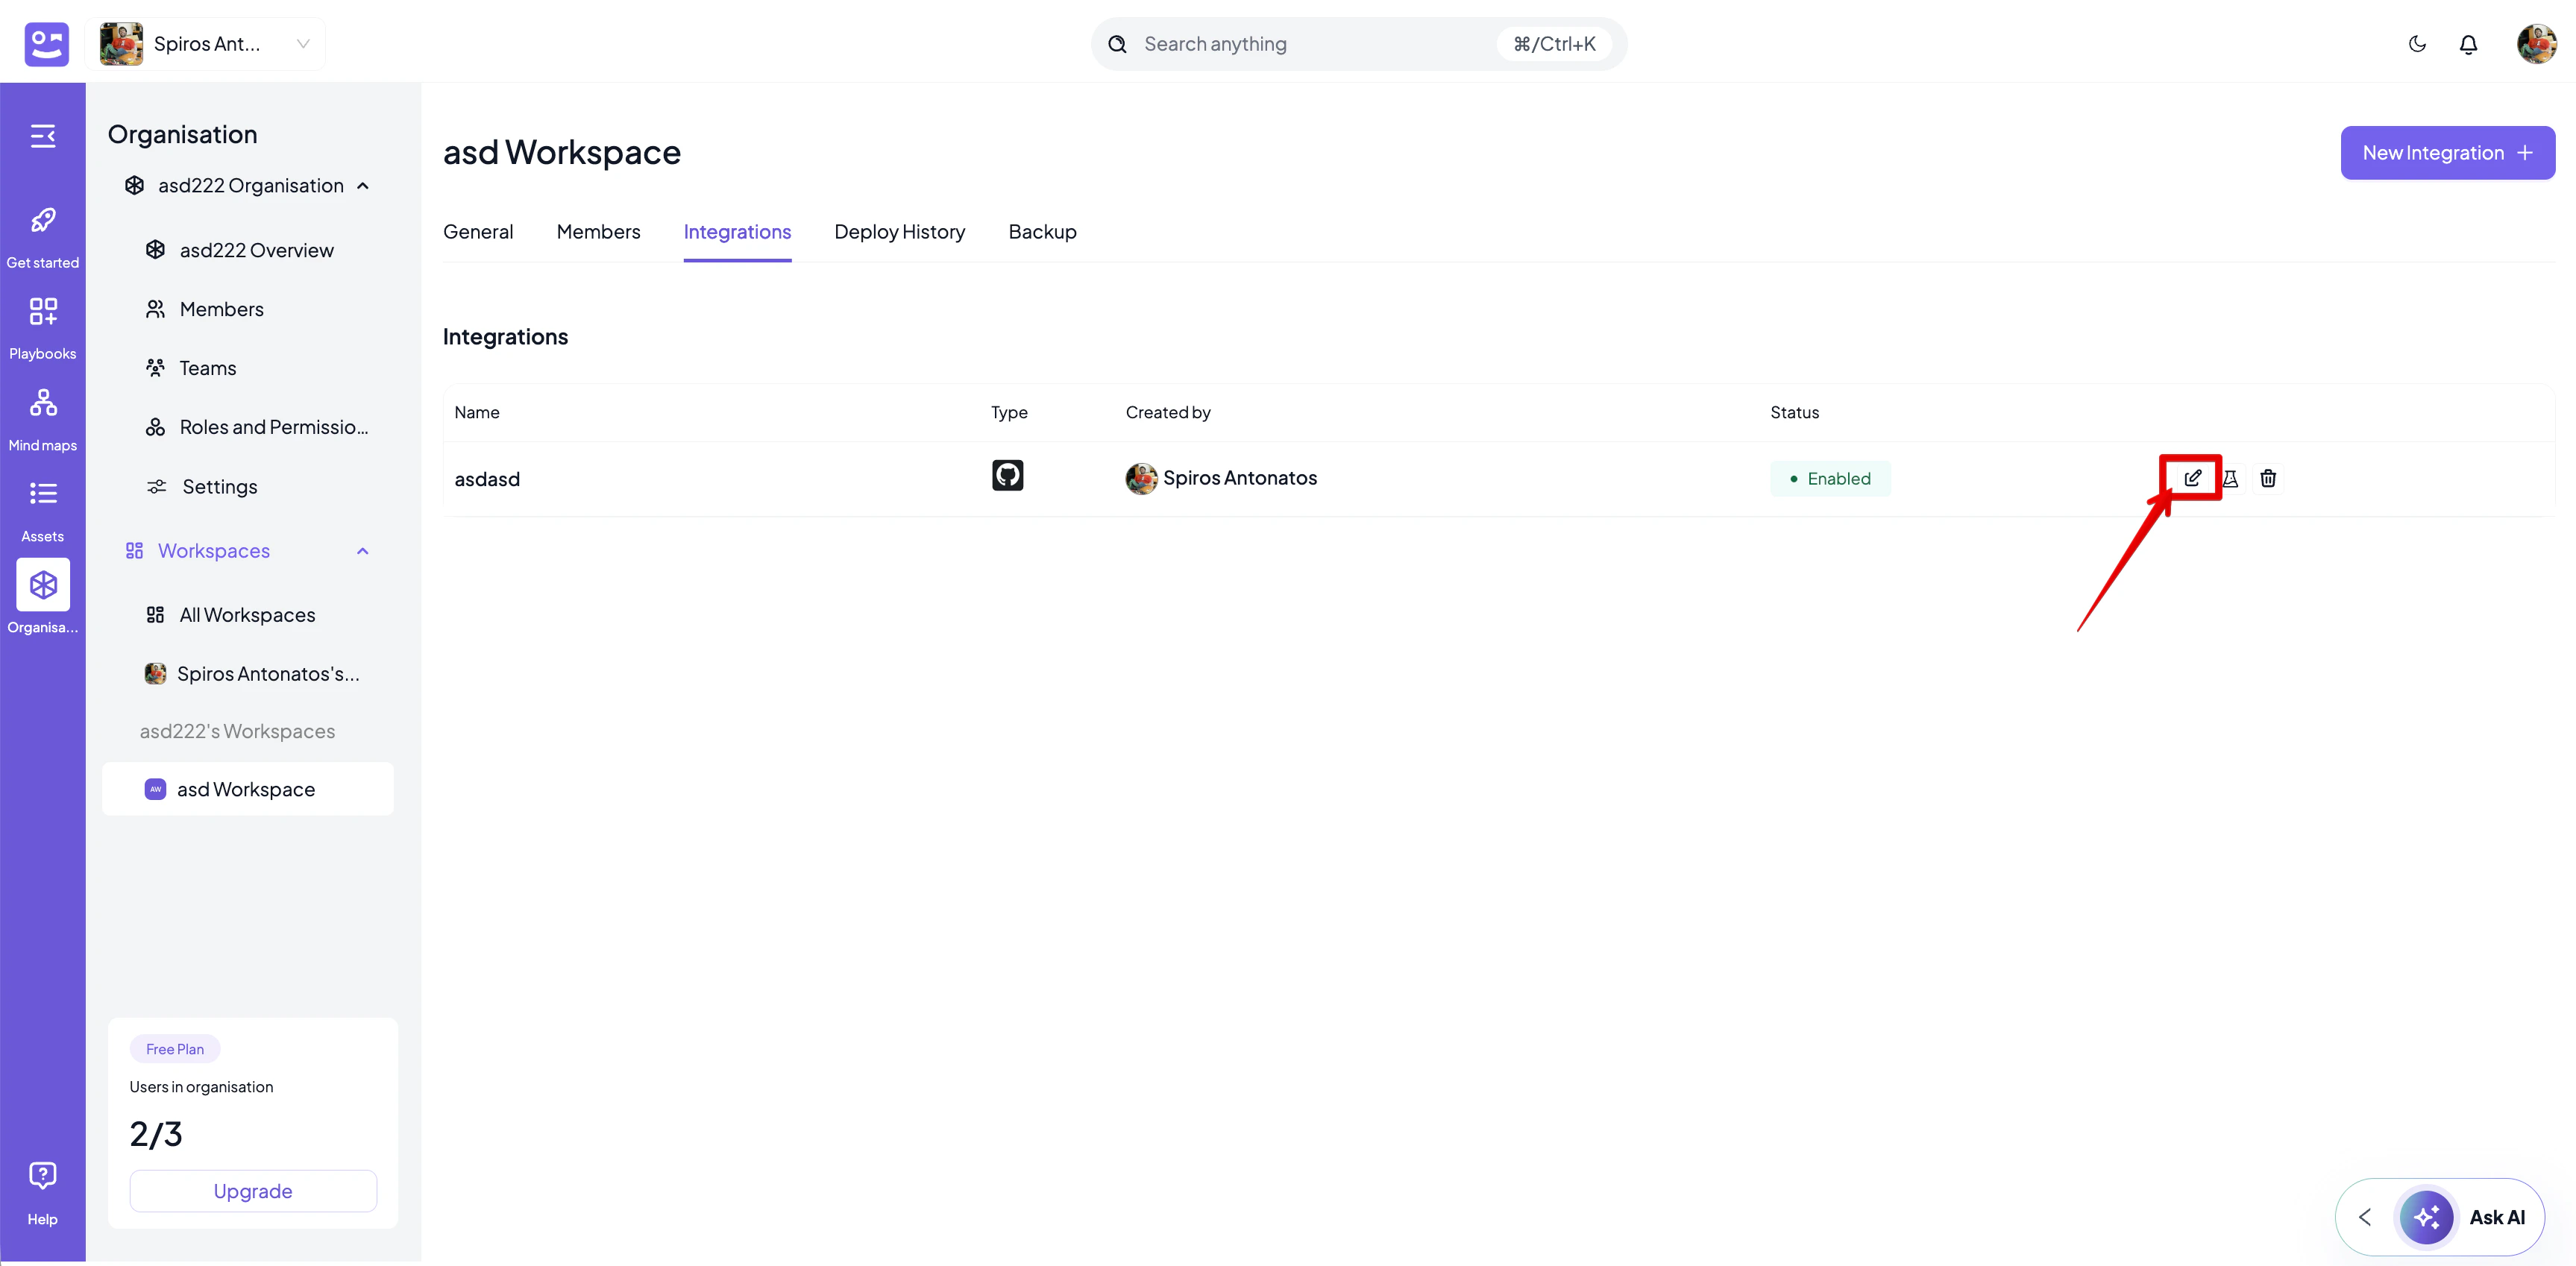
How to update an integration
- Go to the Integrations tab of the workspace.
- Edit the integration.
- Select the Edit icon next to the integration you want to edit.
- Edit the integration details.
- Provide a new name for the integration (optional).
- Modify the URL of the integration endpoint (optional).
- Test the integration (optional).
- Click the Test Connection button.
- If the integration is valid, a message will appear that the integration is tested successfully. Differently, a message containing the test error will appear.
- Update the integration.
- Click the Update Integration button.
- The list of integrations will be updated automatically to reflect the new changes.
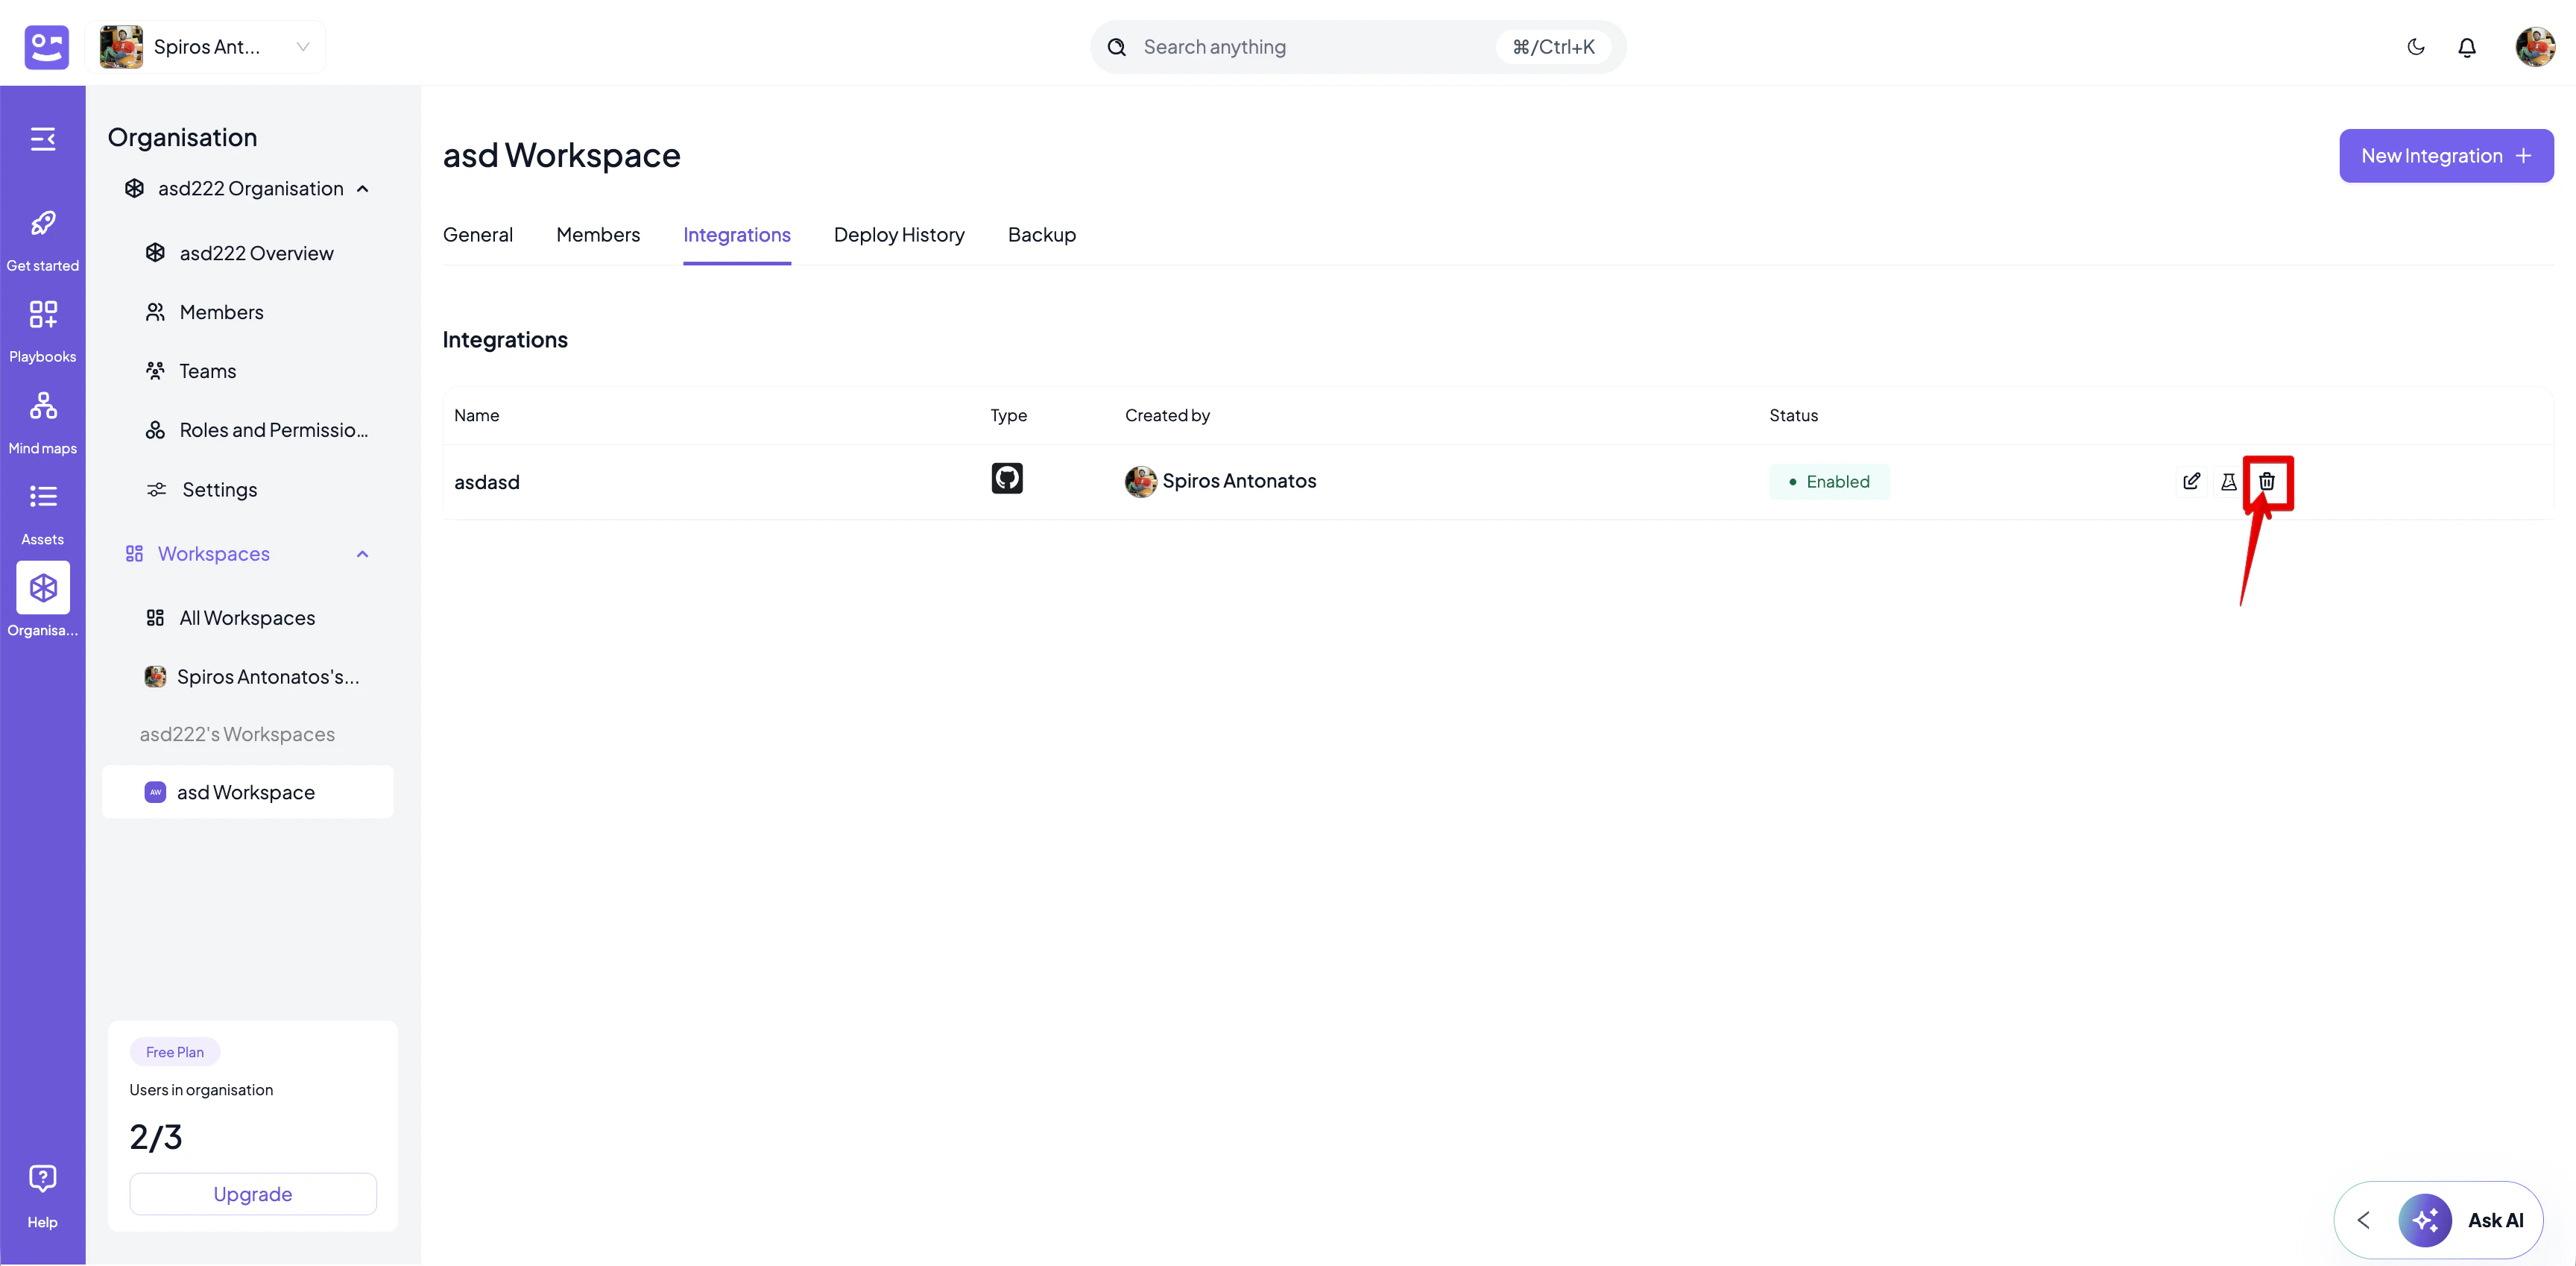
How to delete an integration
- Go to the Integrations tab of the workspace.
- Delete the integration.
- Select the Delete icon next to the integration you want to delete.
- Confirm the deletion by clicking the Delete button on the confirmation dialog that appears.
- The list of integrations will be updated automatically to reflect the new changes.