

Steps
The steps below refer to a command line based installation in an Ubuntu 22.04 machine. The same steps apply for MacOS.- Extract the tarball and go to the cymph folder
- Configure the .env file
.env file. It will ask you:
- The e-mail of the on-prem administrator user (default is admin@domain.com)
- The IP address or domain where the Web application will listen (default
localhost) - The port where the Web application will listen (default
443) - The location of the TLS certificate (default
/etc/ssl/bundle.crt) and of its private key (default/etc/ssl/cert.key) — both must already exist on the host, see TLS certificates - If SSL mode is required for Postgres (default is no)
- Run docker compose
sudo docker compose start
If you see a message like this:
The requested image’s platform (linux/amd64) does not match the detected host platform (linux/arm64/v8) and no specific platform was requestedfeel free to ignore it. Once docker compose is complete, you should see the following on your terminal:

- Creates an on-prem administration account with default credentials
- Populates the instance with playbook contents. The playbooks will belong to the on-prem administration account
- Open your browser and navigate to the Cymph application
- The URL should be
https://<ip_address>:<port>as configured in step 2. If you kept the defaults, the URL ishttps://localhost
- The URL should be
- Enter the default on-prem administration credentials and click on Log In button
- E-mail: the email you provided on step 2 (or admin@domain.com if no e-mail was provided)
- Password: admin
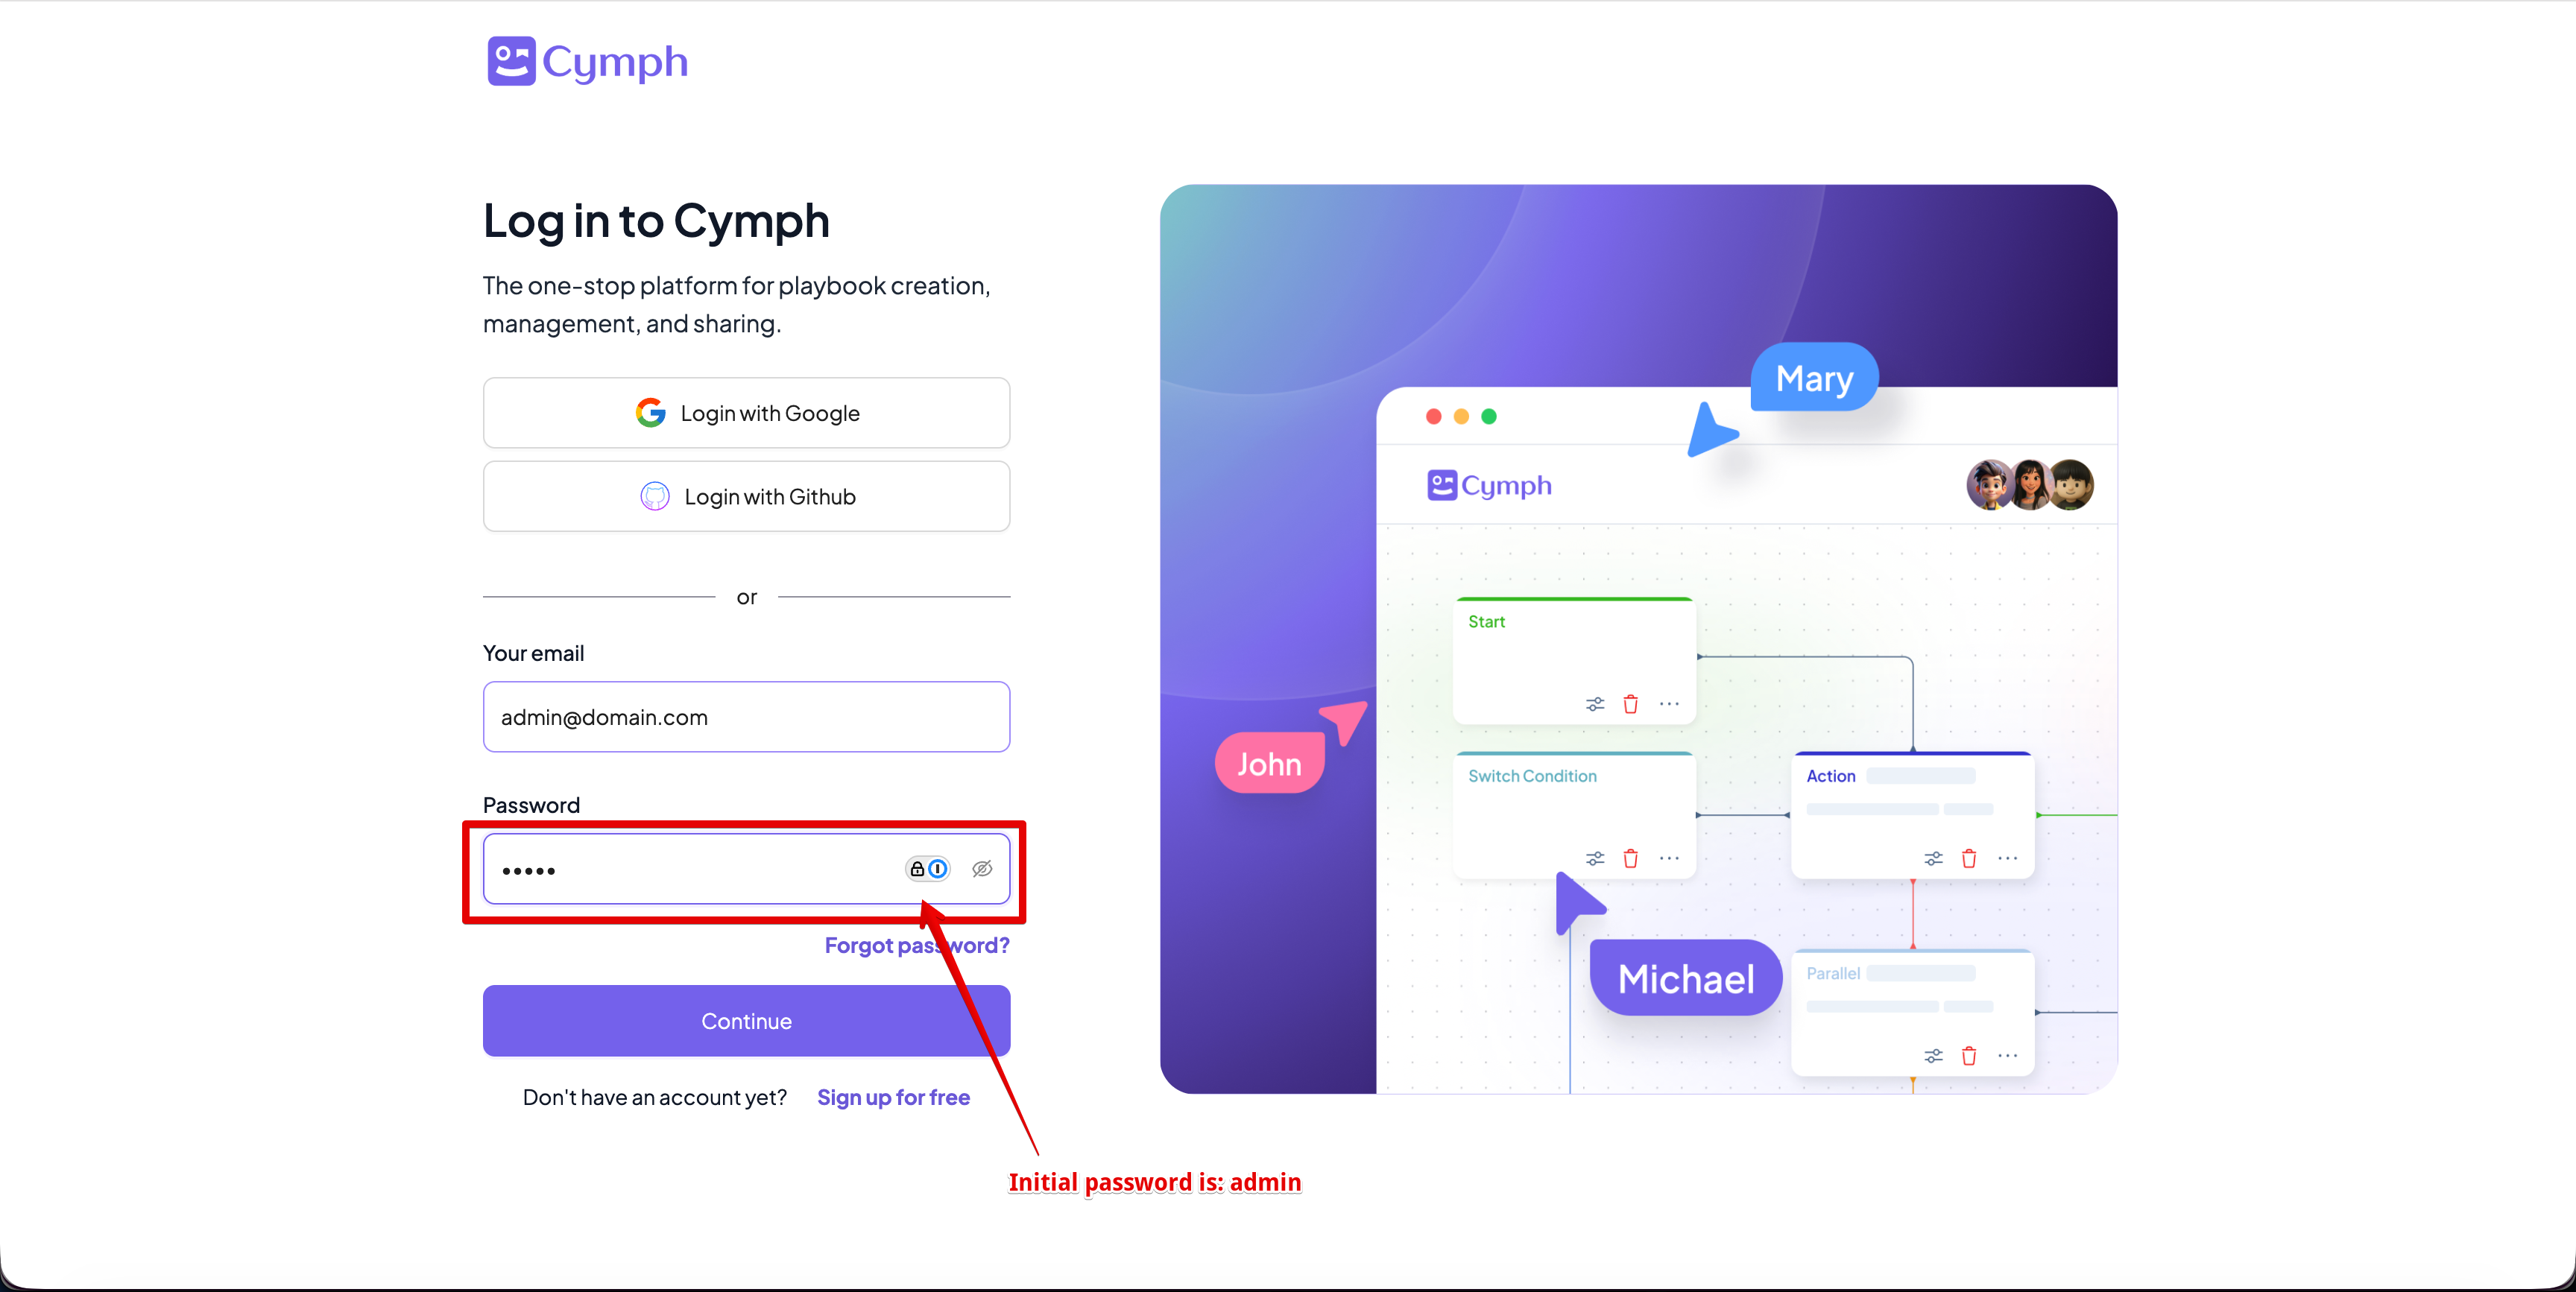
- You will be asked to change your password
- Enter the current password, which is
admin - Enter your new password that meets the password criteria.
- Click on Update to change the password
- After changing your password, you will be redirected to the login screen
- Enter the current password, which is
- Login with the updated credentials and you are ready!
Next steps
After you are done with the installation, you will be able to login as an on-prem administrator. From that account you will be able to:- Upload the license. You can refer to Licensing for more details
- Create the first organisation. You can read more at Organisation management
- Configure e-mail, AI, single sign-on and the Playbook Hub from the on-prem settings page — see SMTP
- Set up a backup routine before the deployment carries real data — see Backup & restore