> ## Documentation Index
> Fetch the complete documentation index at: https://docs.cymph.io/llms.txt
> Use this file to discover all available pages before exploring further.
# Installation
# Requirements
## Hardware
1. At least 2GB of memory
2. Minimum 3GB of storage for container images and application data
## Software
1. Any operating system that can run Docker. We have tested on Ubuntu 22.04LTS
2. Docker
* Install the latest versions of `Docker` engine and `docker-compose`. Installation instructions are at [https://docs.docker.com/desktop/setup/install/linux/](https://docs.docker.com/desktop/setup/install/linux/)
* Docker compose is also required. By default it comes with Docker desktop. If it is not installed check the documentation at [https://docs.docker.com/compose/install](https://docs.docker.com/compose/install).
* We have tested our deployment with versions 27.4.0 and onwards
3. The tarball containing the Cymph installation script
4. The installation will host the Cymph on a secure (HTTPS) website. Before installing the platform, make sure the TLS certificates are available in the host machine (e.g. self-signed certificates via openssl, certificates via certbot etc.)
# Steps
The steps below refer to a command line based installation in an Ubuntu 22.04 machine. The same steps apply for MacOS.
1. Extract the tarball and go to the cymph folder
```text theme={null}
$ tar zxvf cymph_onprem.tgz
$ cd cymph/
```
2. Configure the .env file
```text theme={null}
$ sudo ./env.sh
```
This step will ask you certain questions:
* The e-mail of the on-prem administrator user (default is [admin@domain.com](mailto:admin@domain.com))
* The IP address where the Web application will listen to (default [localhost](http://localhost))
* The port where the Web application will listen to (default 8080)
* If SSL mode is required for Postgres (default is no)
* If e-mail service should be enabled. The default answer is no. In case the answer is yes, you will be prompted for additional configuration
3. Run docker compose
```text theme={null}
$ sudo docker compose up -d
```
This command will run the containerized services in the background. If you have already composed the solution, then run `sudo docker compose start`
If you see a message like this:
> The requested image's platform (linux/amd64) does not match the detected host platform (linux/arm64/v8) and no specific platform was requested
feel free to ignore it.
Once docker compose is complete, you should see the following on your terminal:
 The setup procedure also performs certain initialisation steps:
* Creates an on-prem administration account with default credentials
* Populates the instance with playbook contents. The playbooks will belong to the on-prem administration account
4. Open your browser and navigate to the Cymph application
* The URL should be http\://\:\ as configured in step 2. If you have not specified your own addresses and ports, the default URL is [http://localhost:8080](http://localhost:8080)
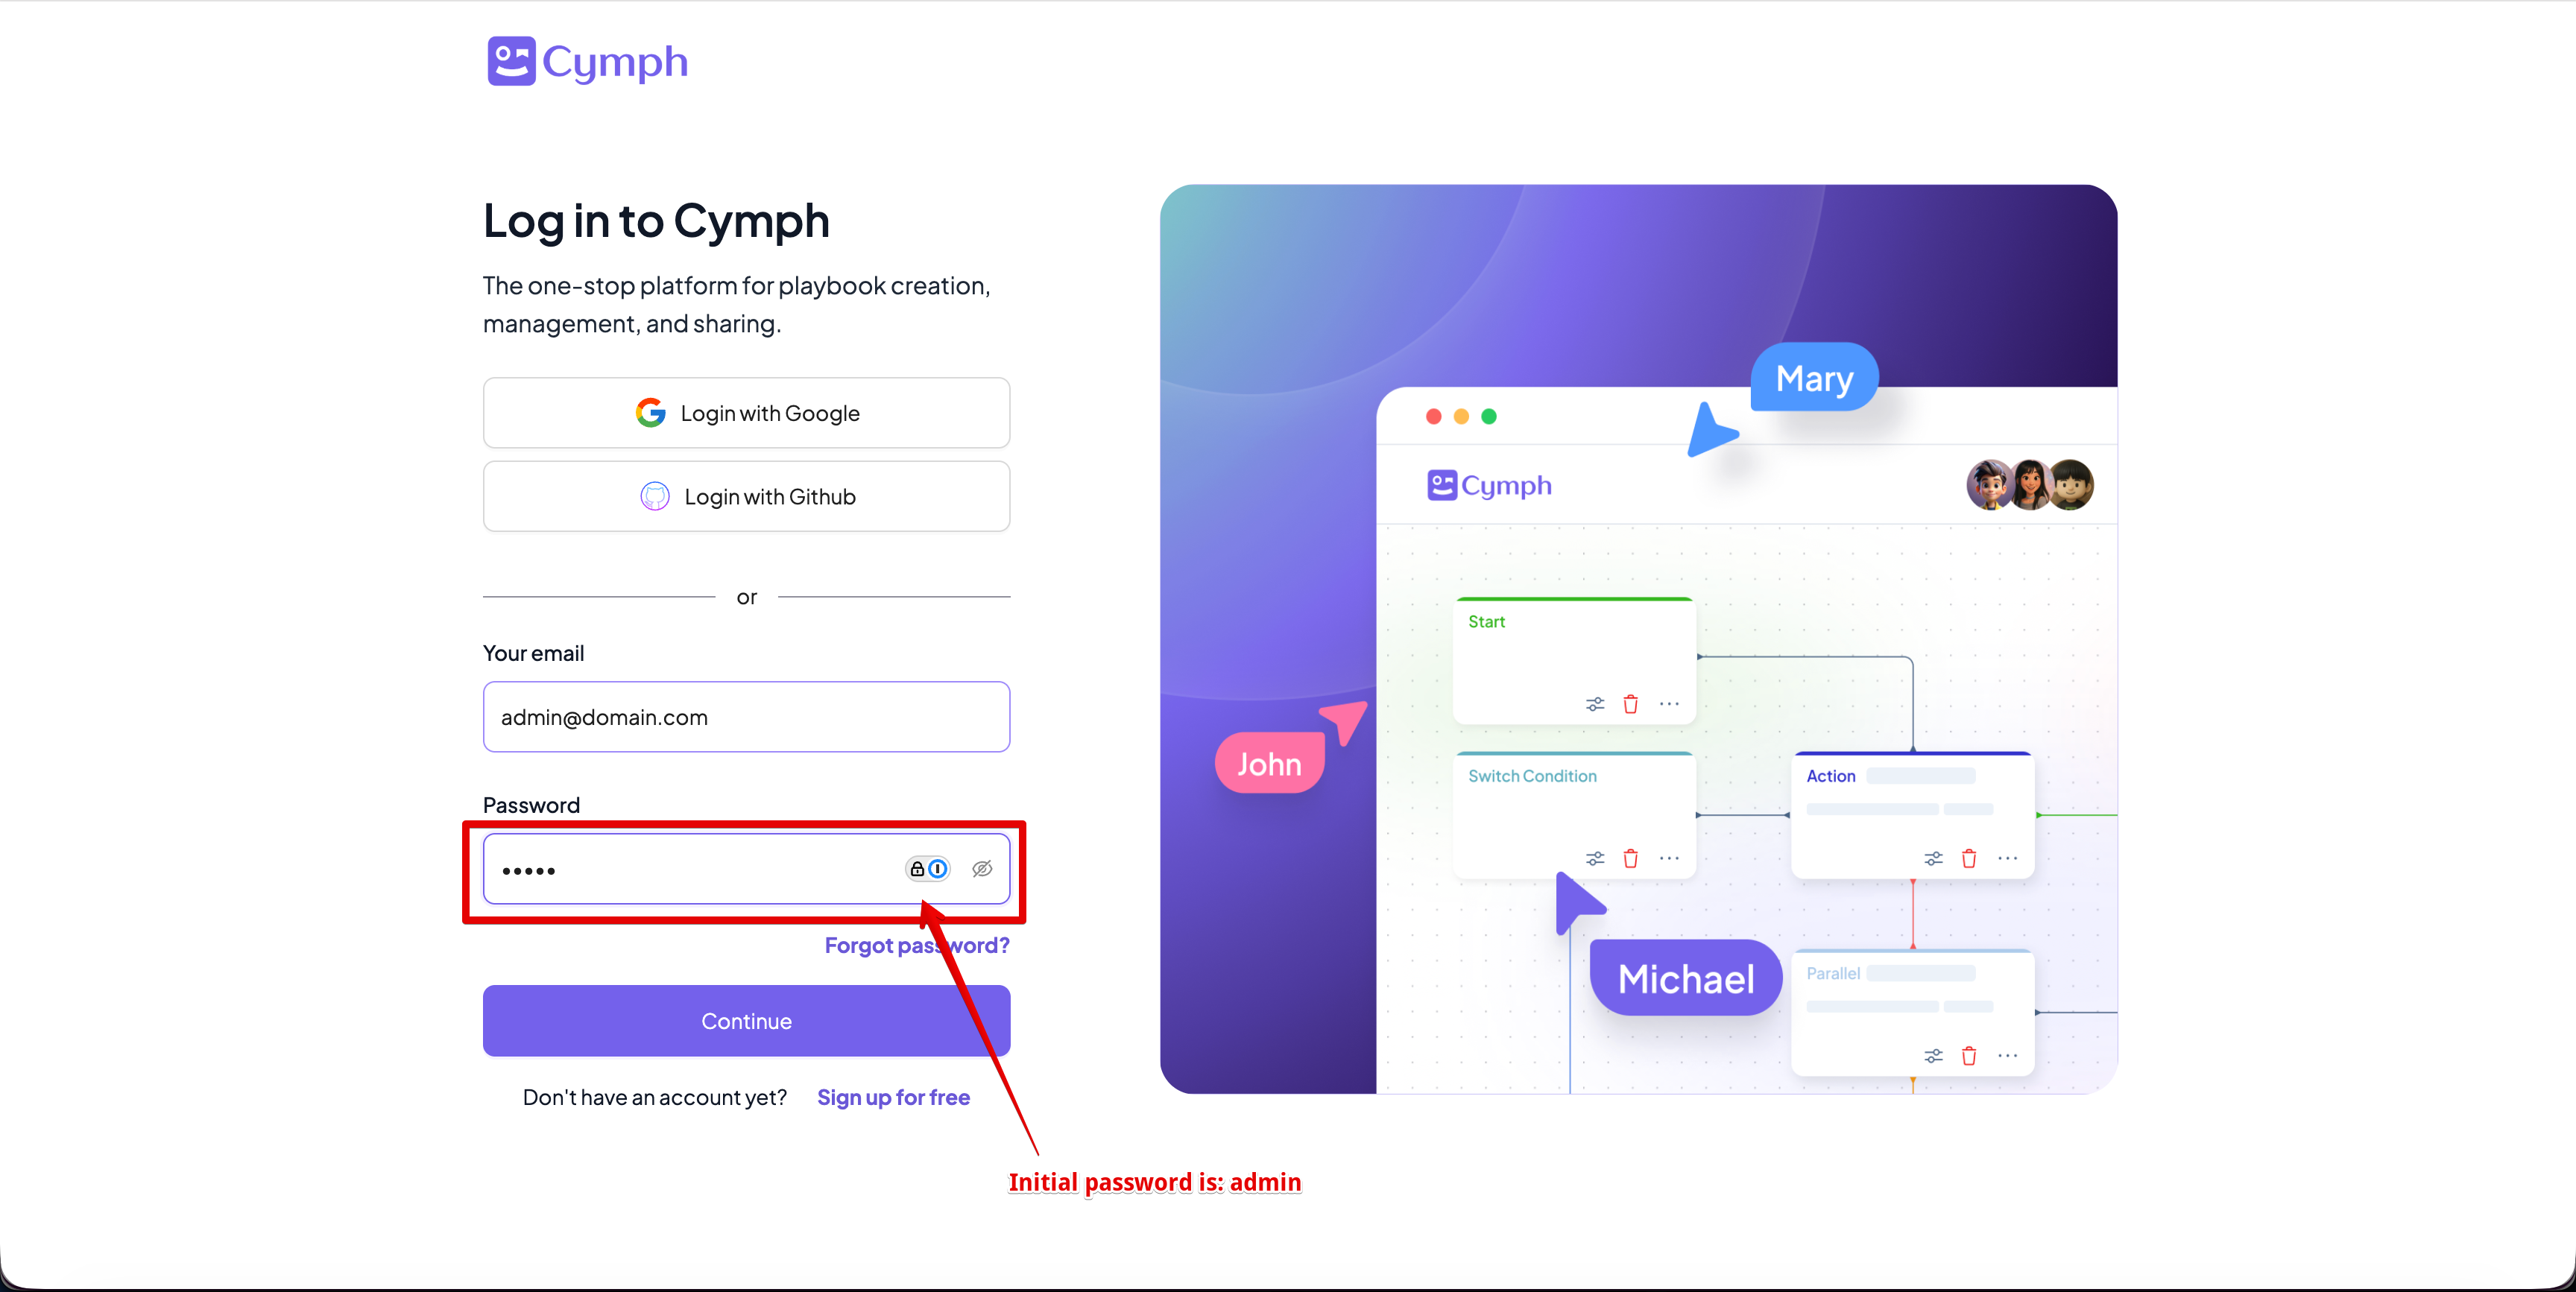
5. Enter the default on-prem administration credentials and click on **Log In** button
* E-mail: the email you provided on step 2 (or [admin@domain.com](mailto:admin@domain.com) if no e-mail was provided)
* Password: admin
The setup procedure also performs certain initialisation steps:
* Creates an on-prem administration account with default credentials
* Populates the instance with playbook contents. The playbooks will belong to the on-prem administration account
4. Open your browser and navigate to the Cymph application
* The URL should be http\://\:\ as configured in step 2. If you have not specified your own addresses and ports, the default URL is [http://localhost:8080](http://localhost:8080)
5. Enter the default on-prem administration credentials and click on **Log In** button
* E-mail: the email you provided on step 2 (or [admin@domain.com](mailto:admin@domain.com) if no e-mail was provided)
* Password: admin
 6. You will be asked to change your password
* Enter the current password, which is `admin`
* Enter your new password that meets the password criteria.
* Click on **Update** to change the password
* After changing your password, you will be redirected to the login screen
7. Login with the updated credentials and you are ready!
After you are done with the installation, you will be able to login as an on-prem administration. From that account you will be able to:
* Upload the license. You can refer to [License management](https://www.notion.so/License-management-1d157edf20d480f48bf6fd97e7d58963?pvs=21) for more details
* Create the first organisation. You can read more at [Organisation management](https://www.notion.so/Organisation-management-1d157edf20d480baba8fc4cc92a74223?pvs=21)
6. You will be asked to change your password
* Enter the current password, which is `admin`
* Enter your new password that meets the password criteria.
* Click on **Update** to change the password
* After changing your password, you will be redirected to the login screen
7. Login with the updated credentials and you are ready!
After you are done with the installation, you will be able to login as an on-prem administration. From that account you will be able to:
* Upload the license. You can refer to [License management](https://www.notion.so/License-management-1d157edf20d480f48bf6fd97e7d58963?pvs=21) for more details
* Create the first organisation. You can read more at [Organisation management](https://www.notion.so/Organisation-management-1d157edf20d480baba8fc4cc92a74223?pvs=21)